How to Select and Deselect Options in a Select Element via Popup using jquery.popSelect.js
This article introduces how to use jquery.popSelect.js to select and deselect options of a select element via a popup.
When creating web applications or dynamic forms, it is convenient for users to be able to manipulate options visually. This is where jquery.popSelect.js comes in. This plugin enables users to intuitively select options from a select element in a popup format.
This article is aimed at engineers with basic knowledge of HTML, CSS, and JavaScript, and explains how to use and customize jquery.popSelect.js.
Preparation
The following files are required to use this plugin:
- jquery.js (required)
- jquery.popSelect.min.js (required)
- bootstrap.css (optional)
- jquery.popSelect.css (recommended)
First, add these files to your project. If you don’t have them, you can download them from the official popSelect repository.
CSS Settings for Select Element Popup Operation
Below is a sample CSS code. This code defines basic styles for adjusting the appearance of the select box. Make sure to load bootstrap.css and jquery.popSelect.css. These are CSS settings for the select element area (.service-box, .select-container, #example). Customize as needed.
<link rel="stylesheet" href="bootstrap.css">
<link rel="stylesheet" href="jquery.popSelect.css">

<style type="text/css">
body{
  text-align: center;
}
h1{
  text-align: center;
  font-size: 22px;
  padding: 20px 0;
  line-height: 2em;
}
.service-box {
    margin: 50px auto 0;
    max-width: 400px;
}
.service-box .select-container {
    padding: 35px 0;
}
#example {
    width: 400px;
}
</style>
Copy and paste this code into your project to easily apply the styles.
Building a Select Element in HTML
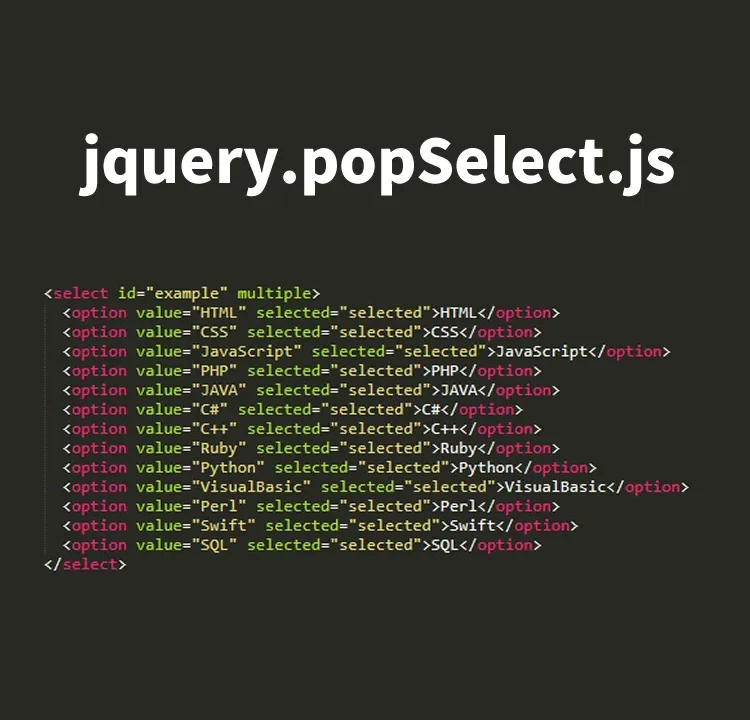
Next, define a select element in HTML that allows popup selection. Prepare multiple options inside the select element area (id=”example”). Below is a sample code:
<h1>Using jquery.popSelect.js, select and deselect options in a select box via popup.<br>All options are selected by default. Hover and click the "×" to deselect.</h1>

<div class="service-box">
  <div class="select-container">

    <select id="example" multiple>
      <option value="HTML" selected="selected">HTML</option>
      <option value="CSS" selected="selected">CSS</option>
      <option value="JavaScript" selected="selected">JavaScript</option>
      <option value="PHP" selected="selected">PHP</option>
      <option value="JAVA" selected="selected">JAVA</option>
      <option value="C#" selected="selected">C#</option>
      <option value="C++" selected="selected">C++</option>
      <option value="Ruby" selected="selected">Ruby</option>
      <option value="Python" selected="selected">Python</option>
      <option value="VisualBasic" selected="selected">VisualBasic</option>
      <option value="Perl" selected="selected">Perl</option>
      <option value="Swift" selected="selected">Swift</option>
      <option value="SQL" selected="selected">SQL</option>
    </select>

  </div>
</div>
This code creates a multi-select box with several default selected options.
JavaScript Code to Select/Deselect Options via Popup using jquery.popSelect.js
Finally, initialize jquery.popSelect.js using JavaScript. Load jquery.js and jquery.popSelect.min.js, then configure $(‘#example’).popSelect({options}).
<script src="jquery.js"></script>
<script src="jquery.popSelect.min.js"></script>
<script type="text/javascript">
    $(document).ready(function() {

      $('#example').popSelect({
        showTitle: false,
        autoIncrease: true
      });

    });
</script>
By adding this script, the select box can now be operated via popup.
Demo Page: Select and Deselect Options via Popup using jquery.popSelect.js
To see it in action, check the demo page below:
Demo page using jquery.popSelect.js to select and deselect options via popup
Conclusion
By using jquery.popSelect.js, you can greatly enhance the usability of option selections and improve the user experience. Feel free to apply it to your own project using this article as a reference!
*Please use it at your own risk if reused.
Do not reuse the Google Analytics tag in the head tag of the demo page.