JavaScript Understanding this: Passing Parameters to Functions and Practical Usage Guide
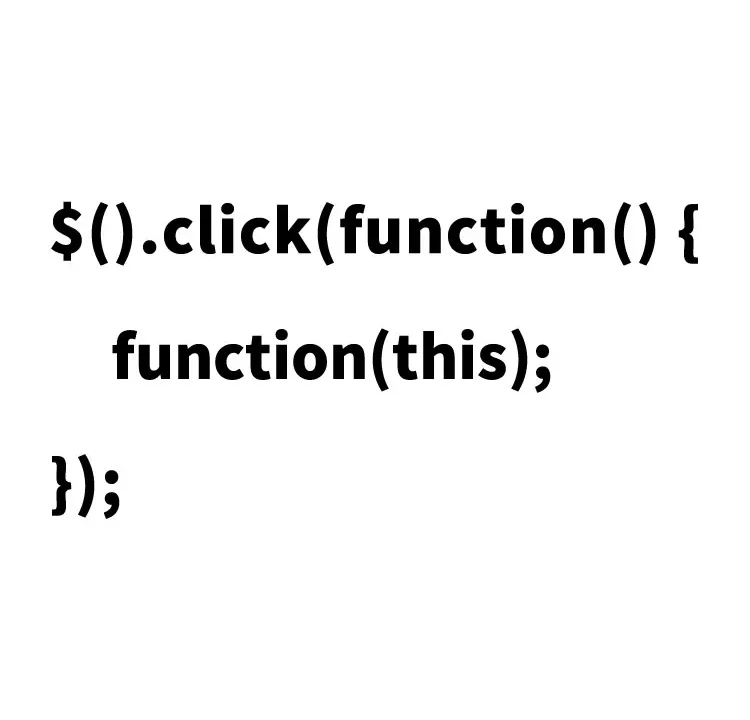
Every JavaScript developer has struggled with the this keyword at least once. Today, let’s take a closer look at this and explore an example of how to apply it in actual coding. Specifically, we’ll examine a simple yet practical use case: displaying the text of a sibling element of a clicked button in an alert message.
Styling: Appearance Matters Too
First, let’s use basic CSS to style the button area (.clkarea). Please adjust this part according to the design of your own site.
<style>
body {
  margin: 0;
  padding: 0;
  font-size: 18px;
  text-align: center;
}
h1{
  text-align: center;
  font-size: 20px;
  line-height: 2em;
  padding: 30px 0;
}
.clkarea{
  cursor: pointer;
  font-size: 20px;
  font-weight: bold;
  border: solid 1px #000;
  color: #ffffff;
  width: 300px;
  height: 60px;
  border-radius: 15px;
  margin: 0 auto 60px auto;
  text-align: center;
  background-color: #000000;
  line-height: 60px;
}
</style>
HTML Structure: Preparing to Use this
Next, prepare the HTML. Here, we set up the button area (class=”clkarea”) as the clickable target and its sibling element (class=”nextarea”). This structure will serve as the foundation for using this in JavaScript.
<h1>Pass JavaScript this as a parameter to a function,<br>and display the text of the clicked button's sibling element in an alert message</h1>

<div class="clkarea">
  Click Here
</div>

<div class="nextarea">
  When you click the above button, the text in this area will be displayed in an alert message.
</div>
JavaScript: Utilizing this
This is the crucial part. Using jQuery, we capture the click event and leverage this. By using this, you can easily control the behavior related to the clicked element.
We load the jquery-2.1.4.min.js file. When the button area (.clkarea) is clicked, the this (clicked button area information) is passed as a parameter to the clikget() function. Inside the clikget() function, the passed this (event) is used to “output the text of the clicked area to console.log” and to “display the text of the sibling element of the clicked button in an alert message.”
<script src="jquery-2.1.4.min.js"></script>
<script>
$('.clkarea').click(function() {
    clikget(this);
});

function clikget(event) {
//  console.log(event);
  console.log(event.textContent); // Output the text of the clicked area to console.log
  alert($("."+event.className).next().text());  // Display the text of the sibling element of the clicked button in an alert message
}
</script>
Try It Out: Demo Page
Understanding deepens not just through theory but by actually trying it out. Please test the demo page from the link below. You can check how the code actually works.
Conclusion: Feel the Power of this
Through this example, I hope you now understand how powerful JavaScript’s this can be. While keeping your code concise, this is an indispensable tool when implementing dynamic functionality. Be sure to apply these techniques in your own projects.
*Please use at your own risk if reusing.
Do not reuse the Google Analytics tag in the head tag of the demo page.

