Responsive Multi-Image Slider Plugin Using Swiper.js
Swiper.js is one of the most popular and easy-to-use touch slider libraries available today. In modern website development, slideshows are an important element for enhancing user experience, especially when combined with responsive design to effectively display content across all device sizes. Swiper.js is widely used by developers for its versatility and high level of customization.
This time, I will introduce how to create a responsive slider compatible with swipe gestures for smartphones and tablets using Swiper.js.
- Features of Swiper.js
- CSS for Responsive Slider Supporting Smartphones and Tablets
- HTML Structure for a Responsive Slider Supporting Smartphones and Tablets
- JavaScript for a Responsive Slider Supporting Smartphones and Tablets Using Swiper.js
- Demo Page for Multi-Image Slider Using Swiper.js
- Source: Swiper Demos
- Conclusion
Features of Swiper.js
- Responsive Design: Swiper is fully responsive, automatically detecting device sizes and optimizing the display.
- Touch Interaction Support: Allows users to interact with the content using swipe gestures, making it perfect for touch devices.
- Multi-Platform Compatibility: Swiper works seamlessly on iOS, Android, Windows Phone, and other platforms.
- Flexible Configuration Options: Customizable options such as indicator styles, button placement, autoplay, and more.
- Hardware Acceleration: Provides smooth animations using CSS3 transitions.
CSS for Responsive Slider Supporting Smartphones and Tablets
*Load the swiper-bundle.css file for Swiper. Modify as necessary.
<!-- Link Swiper's CSS -->
<link rel="stylesheet" href="./swiper-bundle.css" />

<!-- Demo styles -->
<style>
html,
body {
  position: relative;
  height: 100%;
}
body {
  background: #eee;
  font-family: Helvetica Neue, Helvetica, Arial, sans-serif;
  font-size: 14px;
  color: #000;
  margin: 0;
  padding: 0;
}
.swiper-container {
  width: 100%;
  height: 100%;
}
.swiper-slide {
  text-align: center;
  font-size: 18px;
  background: #fff;
  /* Center slide text vertically */
  display: -webkit-box;
  display: -ms-flexbox;
  display: -webkit-flex;
  display: flex;
  -webkit-box-pack: center;
  -ms-flex-pack: center;
  -webkit-justify-content: center;
  justify-content: center;
  -webkit-box-align: center;
  -ms-flex-align: center;
  -webkit-align-items: center;
  align-items: center;
}
.swiper-slide img {
  display: block;
  width: 100%;
  height: 100%;
  object-fit: cover;
}
</style>
HTML Structure for a Responsive Slider Supporting Smartphones and Tablets
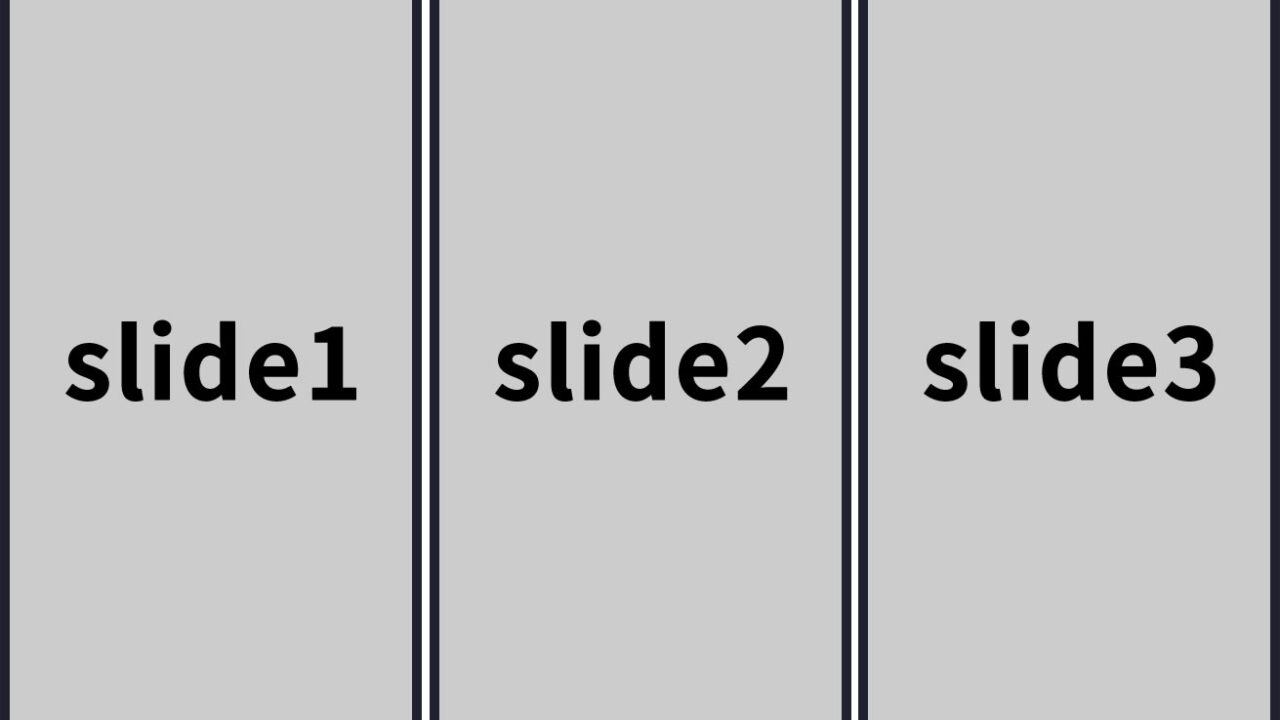
*Prepared 12 slides (class=”swiper-slide”) within the slide area (class=”swiper-container mySwiper”). Modify as necessary.
<!-- Swiper -->
<div class="swiper-container mySwiper">
  <div class="swiper-wrapper">
    <div class="swiper-slide">Slide 1</div>
    <div class="swiper-slide">Slide 2</div>
    <div class="swiper-slide">Slide 3</div>
    <div class="swiper-slide">Slide 4</div>
    <div class="swiper-slide">Slide 5</div>
    <div class="swiper-slide">Slide 6</div>
    <div class="swiper-slide">Slide 7</div>
    <div class="swiper-slide">Slide 8</div>
    <div class="swiper-slide">Slide 9</div>
    <div class="swiper-slide">Slide 10</div>
    <div class="swiper-slide">Slide 11</div>
    <div class="swiper-slide">Slide 12</div>
  </div>
  <div class="swiper-pagination"></div>
</div>
JavaScript for a Responsive Slider Supporting Smartphones and Tablets Using Swiper.js
*Load the swiper-bundle.js file. Set up Swiper(slide area, {slide options}). Slide options allow you to configure the number of slides shown at once, speed, etc. Modify as necessary.
<!-- Swiper JS -->
<script src="./swiper-bundle.js"></script>

<!-- Initialize Swiper -->
<script>
  var swiper = new Swiper(".mySwiper", {
    slidesPerView: 3,
    spaceBetween: 30,
    pagination: {
      el: ".swiper-pagination",
      clickable: true,
    }
  });
</script>
Demo Page for Multi-Image Slider Using Swiper.js
Multi-Image Slider Demo Using Swiper.js
*Do not reuse the Google Analytics tag in the <head> section.
Source: Swiper Demos
Source: Swiper Demos
Conclusion
Swiper.js helps developers deliver diverse user experiences with its rich features and customizable settings. Follow the basic guidelines above, and refer to the official documentation to use various customization options, event handling, and API methods to implement the best slider for your project.
The information introduced here only covers the basics, but the possibilities with Swiper are endless. By utilizing API examples and various options, you can create sliders tailored to different scenarios. For specific implementations or advanced examples, use Swiper’s official documentation and community forums to find the best method for your application.
*Use at your own risk when reusing this content.
