How to Easily Implement Multiple Image Slideshows Using easySlider.js
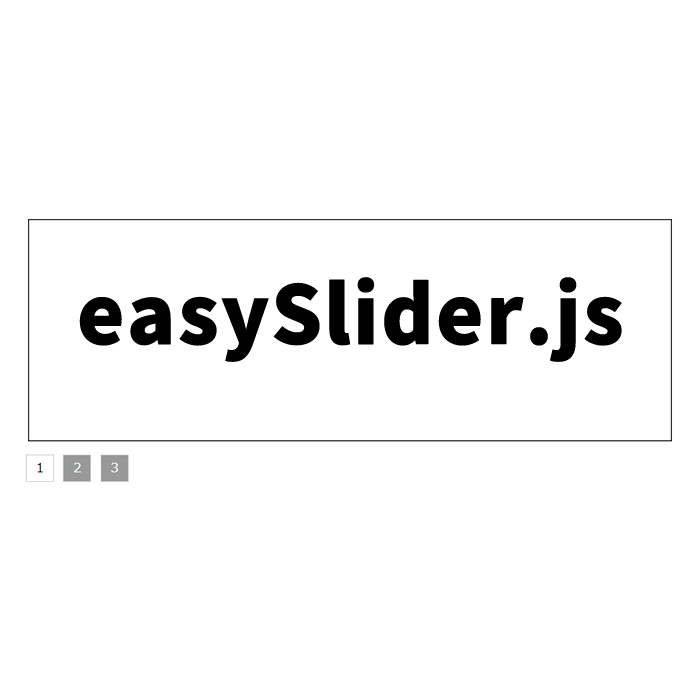
A visually appealing design is very important for users visiting a website. Among them, image sliders are a popular element used on many websites. In this article, we will introduce how to easily create an image slideshow using the jQuery plugin easySlider1.7.js. This allows you to slide multiple images with “Prev/Next” buttons or numeric links.
- What is easySlider1.7.js?
- JavaScript Code to Easily Implement Multiple Image Slideshows Using easySlider1.7.js
- CSS Code to Easily Implement Multiple Image Slideshows
- HTML Code to Easily Implement Multiple Image Slideshows Using easySlider1.7.js
- easySlider: Demo Page for Multiple Image Slideshows
- Source: Easy Slider 17 Numeric Navigation jQuery Slider
- Conclusion
What is easySlider1.7.js?
easySlider1.7.js is a lightweight jQuery plugin that allows you to easily create image slideshows. With this plugin, even if you don’t have much coding knowledge, you can easily create beautiful sliders. Some features include:
- Simple settings: You can easily configure basic functionalities.
- Various options: It has diverse options such as autoplay, infinite loop, navigation buttons, etc.
- Lightweight: The file size is small, so the page loads quickly.
JavaScript Code to Easily Implement Multiple Image Slideshows Using easySlider1.7.js
First, load the jquery.min.js and easySlider1.7.js files. Next, set up the slider using JavaScript. Prepare the following script. We have prepared the area that slides with the “Prev/Next” link click (#slider) and the area that slides with the “1/2/3…” link click (#slider2). Set it with $(slide area).easySlider({options}).
<script type="text/javascript" src="https://ajax.googleapis.com/ajax/libs/jquery/1.8/jquery.min.js"></script>
<script type="text/javascript" src="easySlider1.7.js"></script>
<script type="text/javascript">
$(document).ready(function(){
	$("#slider").easySlider({
	auto: true,
	continuous: true,
	nextId: "slider1next",
	prevId: "slider1prev",
	});
	$("#slider2").easySlider({
	numeric: true
	});
});
</script>
CSS Code to Easily Implement Multiple Image Slideshows
Next, set the design of the slider with CSS. Please add the following stylesheet to your HTML. This is the CSS description of the area that slides with the “Prev/Next” link click (#slider) and the area that slides with the “1/2/3…” link click (#slider2). Adjust it as needed.
<style type="text/css">
<!--
body {
	margin: 0px;
	font-size:14px;
}
h1{
	font-size:16px;
	font-weight:normal;
	line-height:1.4em;
	text-align:center;
	padding:15px 0 10px 0;
}
#idWrap{
	width:700px;
	margin:0 auto;
}

/* slider */
#slider ul, #slider li,
#slider2 ul, #slider2 li{
	margin:0;
	padding:0;
	list-style:none;
}
#slider2{margin-top:1em;}
#slider li, #slider2 li{
	width:696px;
	height:241px;
	overflow:hidden;
}
#prevBtn, #nextBtn,
#slider1next, #slider1prev{
	display:block;
	z-index:1000;
}
#prevBtn a, #nextBtn a,
#slider1next a, #slider1prev a{
	display:block;
	text-align:left;
	color:#333333;
	text-decoration:none;
	padding:5px 0 5px 0;
}
#prevBtn a:hover, #nextBtn a:hover,
#slider1next a:hover, #slider1prev a:hover{
	text-decoration:underline;
}
#nextBtn a, #slider1next a{
}

/* numeric controls */
ol#controls{
	margin:1em 0;
	padding:0;
	height:28px;
}
ol#controls li{
	margin:0 10px 0 0;
	padding:0;
	float:left;
	list-style:none;
	height:28px;
	line-height:28px;
}
ol#controls li a{
	float:left;
	height:28px;
	line-height:28px;
	border:1px solid #ccc;
	background:#999999;
	color:#ffffff;
	padding:0 10px;
	text-decoration:none;
}
ol#controls li.current a{
	background:#ffffff;
	color:#000000;
}
ol#controls li a:focus, #prevBtn a:focus, #nextBtn a:focus{outline:none;}
-->
</style>
CSS is very important for customizing the appearance of the slider. By referring to the above code, you can adjust the colors, font sizes, and layout.
HTML Code to Easily Implement Multiple Image Slideshows Using easySlider1.7.js
Next, place the slider in HTML. Copy the following HTML code and paste it into your page. This code is for creating two different sliders. One switches images with the “Prev/Next” buttons, and the other switches by clicking the numeric links “1/2/3…”. Adjust the image paths and element IDs according to your project.
<div id="idWrap">
<h1>Display three images in two patterns: "Prev/Next" and "1/2/3...".</h1>
<div align="center">
	<div id="slider">
	<ul>
        <li><img src="i01.jpg" alt="" /></li>
        <li><img src="i02.jpg" alt="" /></li>
        <li><img src="i03.jpg" alt="" /></li>
	</ul>
	</div>
<br>
<br>
	<div id="slider2">
	<ul>
        <li><img src="i01.jpg" alt="" /></li>
        <li><img src="i02.jpg" alt="" /></li>
        <li><img src="i03.jpg" alt="" /></li>
	</ul>
	</div>
</div>

</div>
easySlider: Demo Page for Multiple Image Slideshows
If you want to check the actual operation, click the link below to view the demo page.
easySlider: Demo Page for Multiple Image Slideshows
It would be good to customize it according to your site while referring to this demo.
Source: Easy Slider 17 Numeric Navigation jQuery Slider
For detailed information and more advanced customization, please refer to the original source page.
Easy Slider 17 Numeric Navigation jQuery Slider
You can learn more about all the features and additional options of easySlider1.7.js from this link.
Conclusion
By using easySlider1.7.js, you can easily add a professional image slider to your website. The code is easy to adjust, and even beginners can implement it right away. Why not take this opportunity to add visual appeal to your web projects?
I hope this article has helped you learn the basic implementation steps and customization methods for sliders using easySlider1.7.js. Use sliders to create a more attractive site for your visitors.
※ Please use it at your own risk if you reuse it.
Do not reuse the Google Analytics tag inside the demo page tag.