Using JavaScript to Continuously Move Specified Tags with setTimeout
Dynamic content is highly effective in attracting the attention of users visiting a website. Particularly, randomly moving elements provide a visual impact and can catch the user’s eye. In this article, we will introduce how to use JavaScript to continuously move specific HTML tags randomly. The steps are explained in a way that even beginners can easily implement, so feel free to give it a try.
- The Importance of Dynamic Web Design
- Basics of Animation with setTimeout and JavaScript
- Things to Know Before Implementation
- CSS for Continuously Moving Specified Tags with setTimeout
- Implementing JavaScript to Move Specified Tags Randomly
- HTML Code for Continuously Moving Specified Tags with setTimeout
- Demo Page for Continuously Moving Specified Tags with setTimeout
- Conclusion
The Importance of Dynamic Web Design
In web design, dynamic elements are an effective way to enhance user experience. For example, subtly moving CTA (Call to Action) buttons or banners can easily capture the user’s interest. Moreover, animations and dynamic content can be a way to convey information more attractively. Moving elements can also emphasize the visual hierarchy or naturally guide the flow of the page.
Basics of Animation with setTimeout and JavaScript
To add motion to a web page using JavaScript, the `setTimeout` function is very useful. This function has the ability to execute a function only once after a specified time. By looping this function, you can create continuous movement. Additionally, you can use `Math.random()` in combination to achieve random movements.
Things to Know Before Implementation
This implementation is designed to be simple so that even beginners can easily understand it. However, having a basic knowledge of JavaScript will make the process smoother. Understanding the concepts of functions, array operations, and CSS style changes will make implementation easier. Note that this method is intended for creating “small movements” and is not suitable for large-scale animations.
CSS for Continuously Moving Specified Tags with setTimeout
Let’s start with the basic CSS settings. The following CSS code is for adjusting the overall layout of the page, making it easier to visually confirm how the specified tags move.
<style type="text/css">
<!--
body {
	margin: 0px;
	font-size:14px;
}
h1{
	font-size:16px;
	font-weight:normal;
	line-height:1em;
	text-align:center;
	padding:15px 0 0 0;
}
#idWrap{
	width:600px;
	margin:0 auto;
	text-align:center;
}
ul{
	width:200px;
	margin:0 auto;
}
li{
	line-height:1.4em;
	text-align:left;
}
p{
	font-weight:bold;
}
-->
</style>
Using this CSS code, the elements on the page are centered, making the randomly moving elements more visually prominent. Of course, you can adjust the CSS to match your design.
Implementing JavaScript to Move Specified Tags Randomly
Next, write the code in JavaScript to continuously move the specified tags randomly. Add the following code to your HTML page.
<script language="javascript" type="text/javascript">
<!--
function tgmv(){
	T=new Array();
	//The tags specified below are the targets
	N='a|img|li|ul|h1|h2|h3|h4|p'.split('|');
	for(i=0;i<N.length;i++){
		for(E=document.getElementsByTagName(N[i]),j=0;j<E.length;j++){
			T.push(E[j]);
		}
	}
	L=T.length;
	loop();
	void(0);
}
function loop(){
		for(i=0;i<L;i++){
			S=T[i].style;
			S.position='relative';
			S.left=Math.round(Math.random()*10-5)+'px';
			S.top=Math.round(Math.random()*10-5)+'px';
		}
		setTimeout('loop()',100);
}
-->
</script>
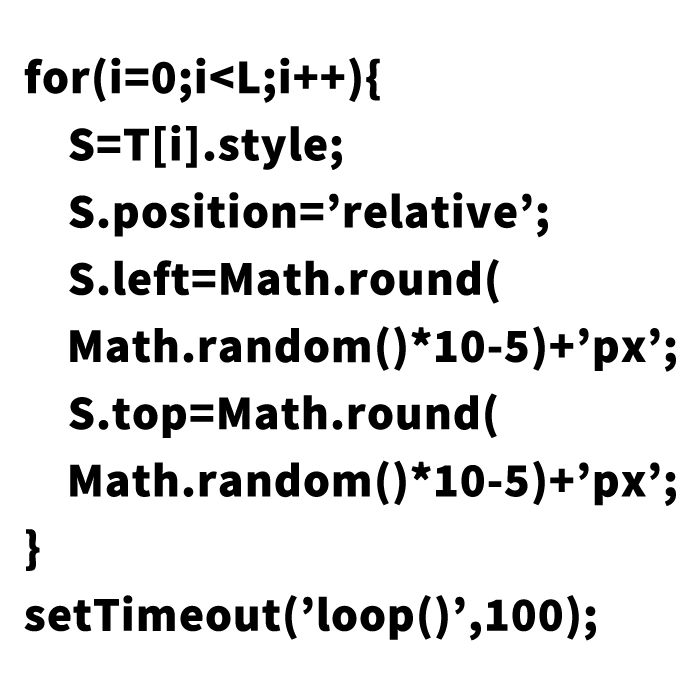
This code is for continuously moving the specified tags randomly. In the `tgmv()` function, the tags are specified, and the `loop()` function continuously moves those tags randomly. By using `Math.random()`, the tags move a few pixels in random directions. Using `setTimeout` to repeat this operation every 100 milliseconds creates continuous movement.
HTML Code for Continuously Moving Specified Tags with setTimeout
Next, incorporate these codes into an HTML page. Use the following HTML code to create a page where the specified tags are continuously moved randomly.
The onClick=”tgmv()” is set up, so clicking on the image triggers the tgmv() process. The tags to be moved continuously are specified by the split in the tgmv() process.
<div id="idWrap">
        <h1>This tag will move continuously in a loop (setTimeout).</h1>
        <p>Please click on the logo image below.</p>
        <div><a href="javascript:void(0);" onClick="tgmv()"><img src="logo.jpg" alt="DAD UNION"></a></div>
        <h2>This is an h2 tag.</h2>
        <ul>
        <li>This is a list tag.</li>
        <li>The list tag is also moving.</li>
        </ul>
        <h3>This is an h3 tag.</h3>
        <h4>Is the h4 tag also moving?</h4>
</div>
In this HTML code, clicking on the logo image executes the JavaScript, and the specified tags on the page start moving randomly. You can add additional tags or change the movement speed to customize it to your site.
Demo Page for Continuously Moving Specified Tags with setTimeout
For those who want to see how it works, we have prepared a demo page. Access the demo page from the link below.
Demo for Continuously Moving Specified Tags with setTimeout
In this demo, you can actually see how the tags move and how fast they move. Refer to the demo and adjust it to suit your site.
Conclusion
With the method introduced here, you can easily make the specified tags move randomly. Try incorporating this method when you want to give a visual impact or draw the user’s attention to a specific element. However, too much movement can have the opposite effect, so be mindful of using it appropriately.
Lastly, by combining simple animation effects like this, you can bring motion to your site design and enhance the user experience. Please make use of this method to create a more attractive website.
※ Please use this at your own responsibility.
Do not use the Google Analytics tag in the demo page’s head tag.
