For Beginners: Image Mouseover Switching Technique Using this.src
In the world of web development, techniques to enhance user experience are constantly evolving. This time, we’ll introduce a simple yet effective method to implement a mouseover effect for images on your website. Specifically, we’ll focus on using the this.src attribute in JavaScript, explaining its simplicity and convenience.
This method allows you to easily switch between two images on mouseover using this.src.
Method for Using this.src in the img Tag’s onmouseover/onmouseout
When you hover your mouse over an image on a web page (mouseover), you can switch it to another image. To achieve this, JavaScript code is written in the img tag’s onmouseover and onmouseout events. Specifically, you use the this.src attribute to specify the image that appears when the mouse is hovered (mouseover) and when the mouse leaves the image (mouseout).
For example, by writing the following code, the image will switch to logo_on.jpg on mouseover and back to logo.jpg on mouseout.
    <a href="/" title="DAD UNION" target="_blank">
    <img src="logo.jpg" width="250" height="250" alt="DAD UNION" border="0" onmouseover="this.src='logo_on.jpg';" onmouseout="this.src='logo.jpg'">
    </a>
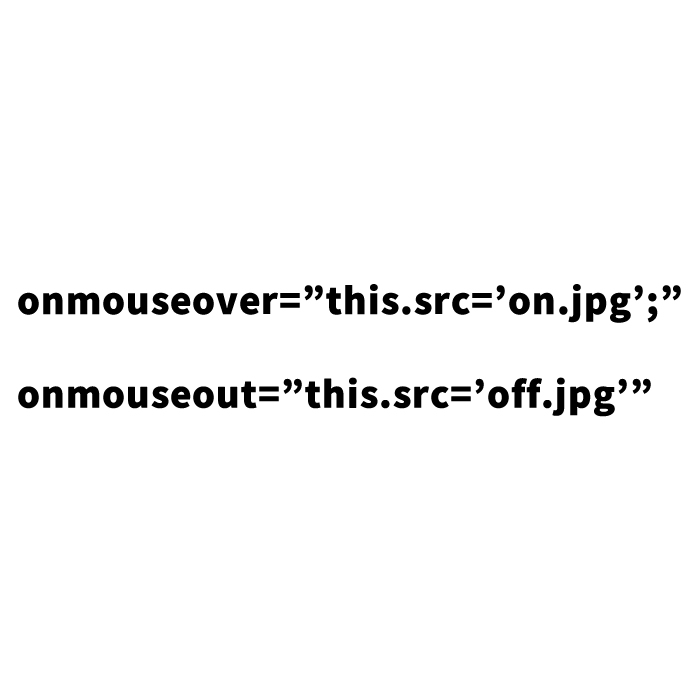
Prepare two images, one before switching (logo.jpg) and one after switching (logo_on.jpg), and use this.src=’image’ to switch images on mouseover/mouseout. The img tag contains the processes for switching the image on mouseover (onmouseover=”this.src=’logo_on.jpg’;”) and mouseout (onmouseout=”this.src=’logo.jpg'”).
This method allows for intuitive image switching without the need for complex JavaScript or additional libraries.
Method for Fading Images on Mouseover with CSS
Using CSS, you can add more sophisticated effects, such as making the image translucent on mouseover. Below is a method to make an image 50% translucent using CSS.
In CSS, the opacity attribute is used to control the transparency of the image. If you want to add a fade effect on mouseover, use the a:hover img selector to specify the opacity of the img tag when the link is hovered over.
<style type="text/css">
<!--
#idBtn a:hover img{
    opacity:0.5;
    -moz-opacity:0.5;
    filter:alpha(opacity = 50);
}
-->
</style>
The HTML description is as follows. An img tag is provided within the a tag to be made translucent on mouseover.
<div id="idBtn" align="center">
    <a href="/" title="DAD UNION" target="_blank">
    <img src="logo_on.jpg" alt="DAD UNION" width="250" height="250" border="0">
    </a>
</div>
By using this method, the image becomes semi-transparent when the user hovers over the link, providing a visually appealing interaction.
Demo Page to Easily Implement Image Switching on Mouseover
It’s important not only to learn the theory but also to experience these techniques in practice. The following link provides a demo where you can easily implement image switching and fade effects on mouseover.
Demo for Easy Implementation of Image Switching on Mouseover
Through this demo, you can learn how web pages respond to user interactions by actually trying it out.
Conclusion
In this article, we explained how to implement an image mouseover effect using this.src. By utilizing JavaScript and CSS, you can add dynamic interactions to your web page, enhancing the user experience. For beginners interested in engineering and web development, these techniques are essential skills to make your website more attractive.
Web development is a field that always requires learning new technologies. Starting with the techniques introduced here, continue exploring more technologies to make your website more unique and user-friendly.
* Please use at your own risk if you reuse this content. Do not reuse the Google Analytics tag within the demo page tags.