How to smoothly migrate your WordPress site to a new server and new domain
When managing a website, there are times when you need to migrate your website to a different hosting server or create a duplicate on a test URL (domain or subdomain).
This time, we will explain how to migrate a WordPress site to a new environment in a way that even beginners can easily understand. Although this process involves many technical aspects, you will be able to complete it if you proceed step by step.
- Prerequisites for Migrating a WordPress Website to a Different Server and URL (Domain)
- Export the Database Data from the Existing WordPress Site
- Replace All URLs in the Exported Database Tables
- Import the Modified Database into the Destination Server
- Download All Files from the Existing WordPress Site and Edit the wp-config.php File
- Upload All Downloaded WordPress Files to the Destination Server and Check the Site on the New URL
- Summary
Prerequisites for Migrating a WordPress Website to a Different Server and URL (Domain)
Before starting the migration, there are several preparations you need to make. Let’s check the following list. The prerequisites are as follows:
- New hosting server: Make sure the destination server is ready.
- Database and management tools: Check that MySQL and phpMyAdmin are installed on the new server.
- New domain or subdomain: Ensure the new address for the migration is ready.
- WordPress experience: You should have some experience building sites with WordPress.
- Programming knowledge: Basic programming knowledge is recommended.
- Database knowledge: Basic knowledge of databases will make the process smoother.
Export the Database Data from the Existing WordPress Site
First, you need to export the database from the existing site. This is the first step to move your site data to the new server. Use phpMyAdmin to export the database in “SQL” format, and if possible, compress it into “zip” format. This makes data transfer easier.
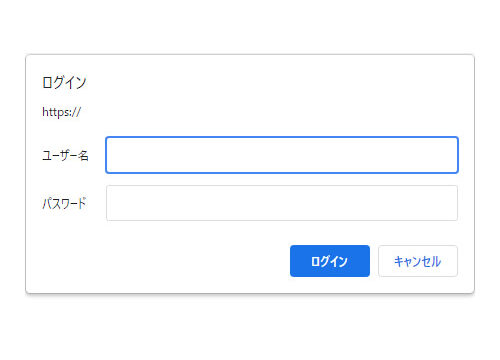
Open the phpMyAdmin interface for your existing site’s database.

Select the database used by WordPress and open the “Export” screen.
You can choose the “Export Method,” so select “Custom.”
Set “Format” to “SQL” and select all tables.
Other options can generally be left as default, but to reduce file size, we recommend selecting “zip” for compression.
Click the “Go” button at the bottom of the screen.
Replace All URLs in the Exported Database Tables
You need to replace all URLs in the exported database with the new URL. This ensures that internal links within the site point to the new domain. Use a text editor to perform a bulk find-and-replace of the old URL with the new URL.
For example, replace the URLs in the exported database as follows:
(Example of existing site URL)
https://old.dad-union.com
↓
(Migration destination URL)
https://new.dad-union.com
Extract the exported database zip file, then open the file in a text editor.
The URLs of pages and posts are recorded in the tables, so perform a global find-and-replace to update all instances.
Save the file after replacing.
(String before replacement)
old.dad-union.com
↓
(String after replacement)
new.dad-union.com
Import the Modified Database into the Destination Server
Next, import the modified database into the new server’s database. This is done through phpMyAdmin.
Once the import is complete, the site data will be transferred to the new server.
After completing the bulk URL replacement, import the modified database export file into the destination server’s database.
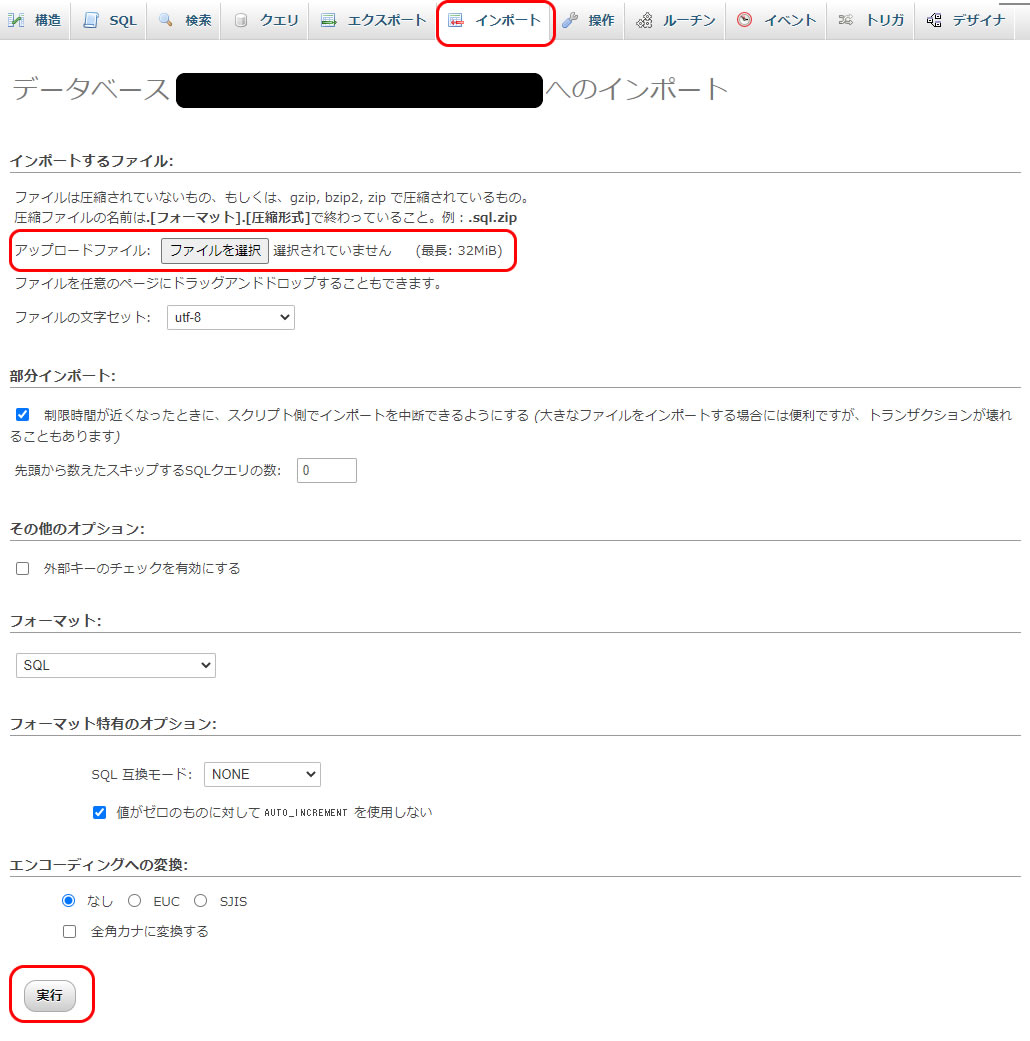
Open the phpMyAdmin interface for the destination server.
Open the “Import” screen and select the file from “Choose File.”
Click the “Go” button at the bottom of the screen to perform the import.
Download All Files from the Existing WordPress Site and Edit the wp-config.php File
Download all files from the existing WordPress site using FTP or similar tools.
Open “wp-config.php” from the downloaded files and update the database settings to match the destination server.
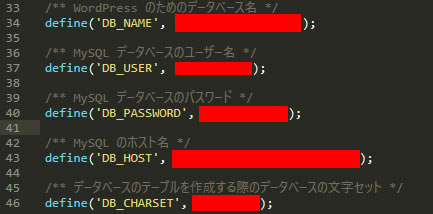
Update “Database Name,” “Database Username,” “Database Password,” “Host Name,” and “Character Set” with the new server’s database information, then save the file.
Upload All Downloaded WordPress Files to the Destination Server and Check the Site on the New URL
After editing wp-config.php, upload all downloaded WordPress files to the destination server using FTP or similar tools.
Once uploaded, check the site by accessing it at the new URL. If the site displays correctly, the migration is complete.
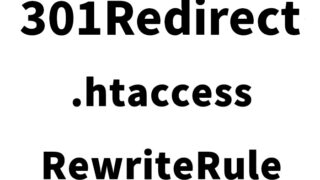
※During the migration process, errors may occur due to issues such as incorrect character encoding, PHP or MySQL version mismatches, differences in server configuration, or incorrect file and directory permissions. Troubleshoot based on the error messages.
Summary
Migrating a WordPress site to a new server or domain requires caution and attention to detail, but by following this guide, even beginners can successfully complete the process. Migration can take some time, but if you proceed step by step, your site will work properly in its new environment.
We hope this article helps those considering migrating their WordPress sites. If you encounter technical issues, it’s also important to consult with a professional. Success comes from taking each step carefully and thoroughly.
※Please note that you take full responsibility when using this guide.