WordPress Speed Improvement Guide: Accelerate Site Display with Autoptimize Plugin
WordPress is a widely used content management system (CMS) worldwide, but certain technical optimizations are necessary to improve website speed. Among them, the “Autoptimize” plugin plays a crucial role in enhancing WordPress site performance.
Why Site Display Speed Matters
Website speed directly affects user experience. If the speed is slow, visitors may leave the site quickly, negatively impacting SEO rankings. Search engines like Google prioritize user experience, and loading speed is considered one of the ranking factors.
Autoptimize Plugin
Here is the official plugin page:
Main Features of Autoptimize
Autoptimize shortens site loading time by performing the following optimizations:
- CSS File Optimization: Merges multiple CSS files into one and compresses the size.
- JavaScript Optimization: Merges and compresses JS files, allowing asynchronous or delayed loading.
- HTML Optimization: Compresses HTML code by removing unnecessary spaces and comments.
- Google Fonts Optimization: Merges different font styles and weights into one to speed up loading.
- Lazy Loading of Images: Improves initial page display speed by loading images as the user scrolls.
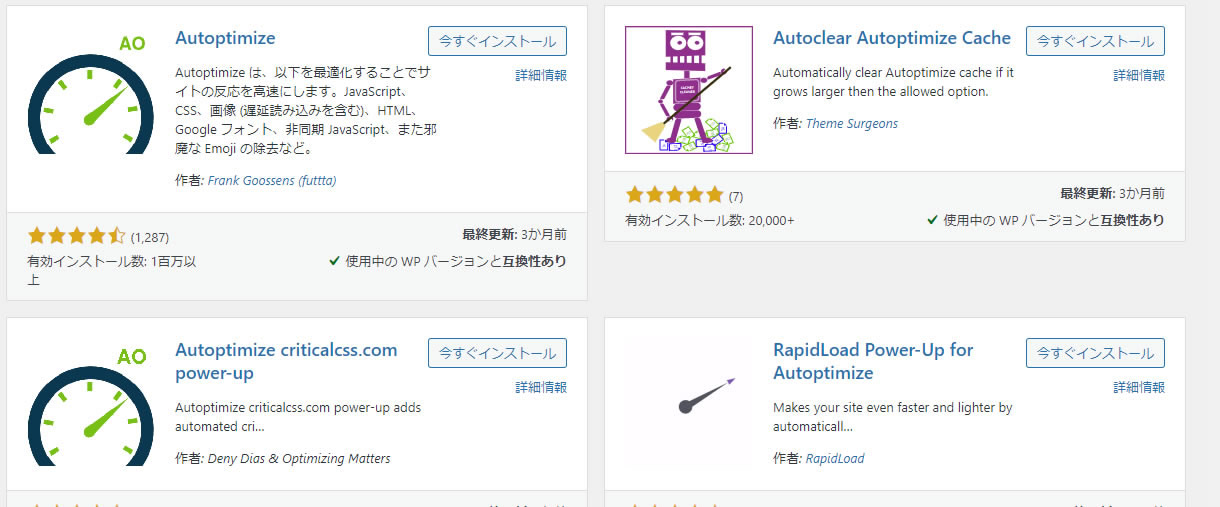
How to Install Autoptimize
- Access the WordPress Admin Panel: Log in to WordPress as an administrator.
- Add the Plugin: Select “Add New” from the “Plugins” menu.
- Search and Install the Plugin: Enter “Autoptimize” in the search bar and install the displayed plugin. The red box labeled “Autoptimize” will appear.
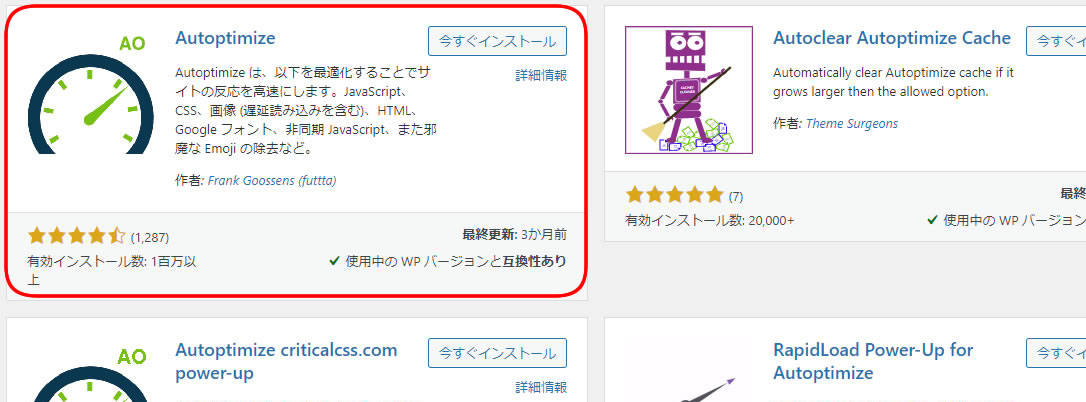
- Activate the Plugin: Click the “Activate” button after installation.
Customizing Autoptimize Settings
Autoptimize settings are highly flexible. While the default settings are effective, fine-tuning according to your site’s characteristics can further improve performance. You can configure optimization settings for JS, CSS, HTML, images, and Google Fonts. Below are the settings I initially applied:
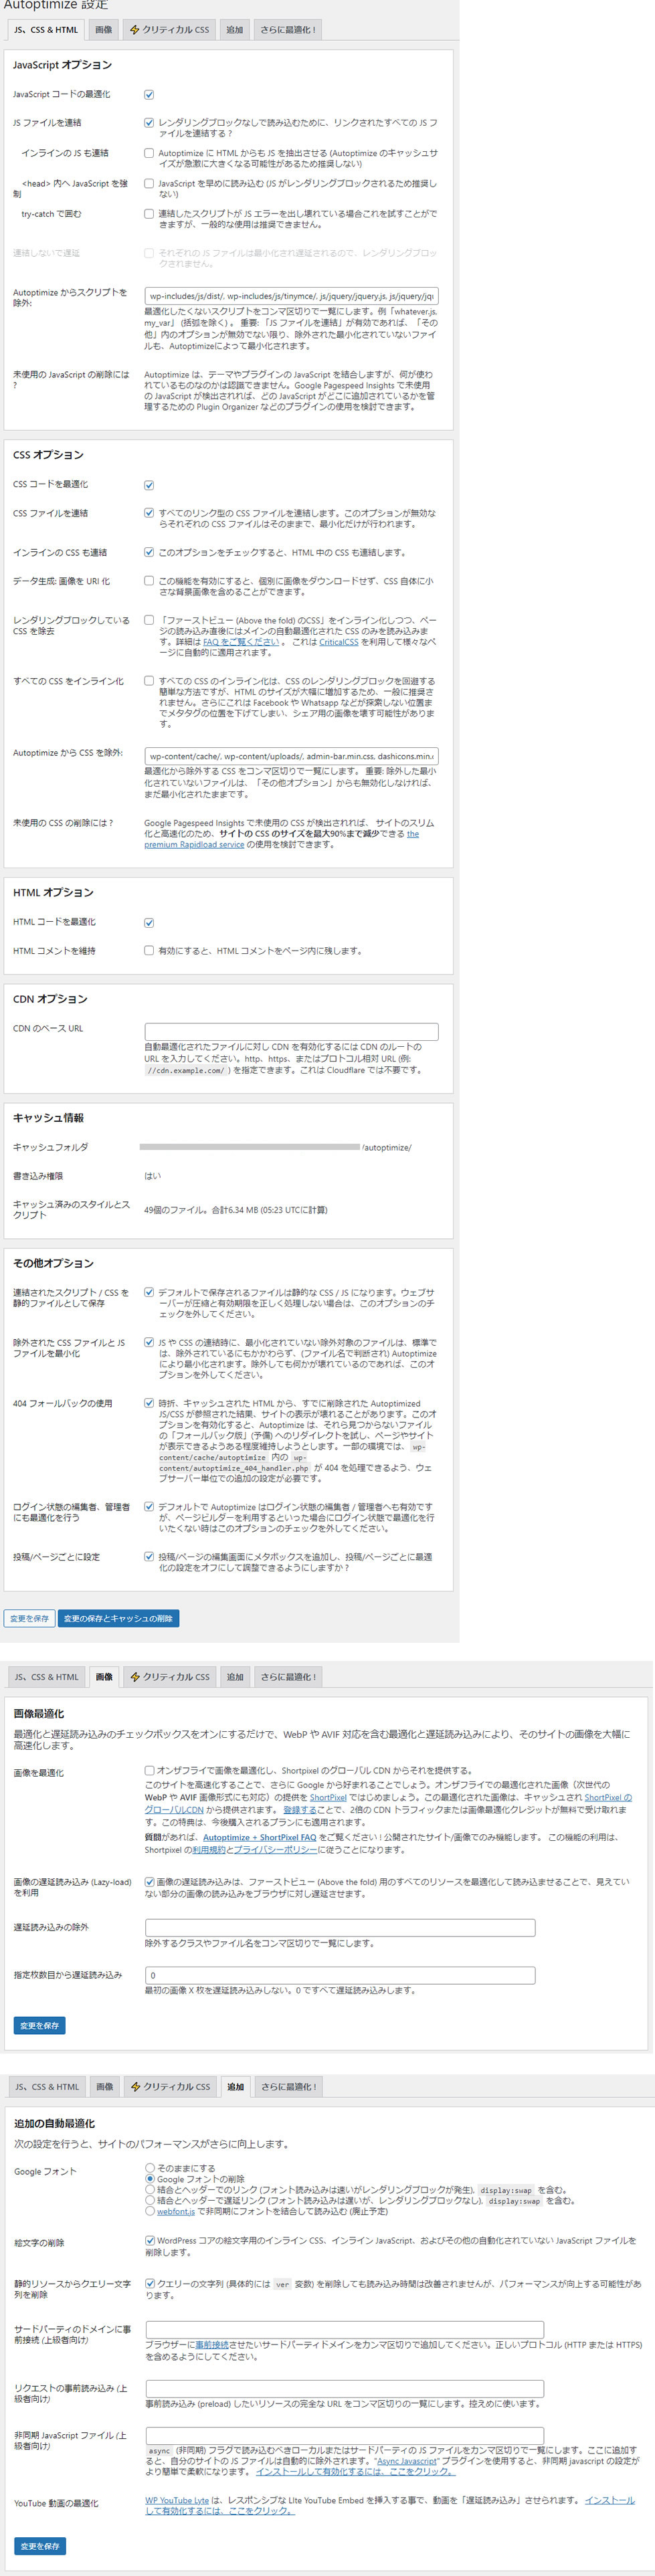
After configuring the various compression and optimization methods, click “Save Changes” at the bottom of the Autoptimize settings screen to apply the settings.
Basic Settings
- Compression of JS, CSS, and HTML: Compressing these files improves site loading speed. Large JS and CSS files are major factors slowing down page loading.
- Google Fonts Optimization: Many sites use Google Fonts, but loading multiple styles and weights can impact page load times. Autoptimize allows efficient loading configurations.
- Lazy Loading of Images: Enables loading images only when needed, improving initial page display speed by reducing the amount of data loaded upfront.
Advanced Settings
- Asynchronous JavaScript Loading: Loads JavaScript files asynchronously, preventing them from blocking page rendering while allowing other elements to load.
- Delayed CSS Loading: Allows CSS files to load later, enabling content to be displayed before all visual elements are fully loaded.
Precautions and Troubleshooting
- Effects of Settings: Autoptimize settings may impact sites differently. Always test your site after making changes to ensure no issues arise.
- Clearing Cache: After modifying settings, remember to clear your site’s cache to apply the latest changes properly.
- Plugin Compatibility: Consider compatibility with other plugins and themes. If compatibility issues occur, adjust the settings or consider alternative plugin combinations.
Conclusion
Autoptimize is a highly effective tool for improving WordPress site speed. By properly configuring this plugin and performing regular maintenance, you can significantly enhance your site’s performance. Improved user experience not only benefits visitors but also provides substantial SEO advantages. Utilize this plugin to build a faster, more optimized website.
※ Use at your own discretion.