Beginner’s Guide: How to Easily Create a Multiple Image Slider with jquery.bxslider.js
If you want to highlight visual content on your website or blog, an image slider is a very effective tool.
This time, I’ll introduce how to set up a multiple-image slider using jquery.bxslider.js, which is multifunctional and easy to use with features such as a pager, controller, looping, and smartphone support.
This library supports various types of sliders and provides a wide range of options. Through this article, I’ll explain step by step so that even beginners can implement a slider.
There are many types of sliders, and it often takes time to remember each option, right?
Style Settings: Adjust the Slider’s Appearance with CSS
First, set up the necessary CSS to adjust the appearance of the slider. Load the jquery.bxslider.css file.
Refer to the code below and include the appropriate stylesheet in your project.
<link href="jquery.bxslider.css" rel="stylesheet" />
<style>
body {
  margin: 0;
  padding: 0;
  font-size: 18px;
  text-align: center;
  width:100%;
  margin:0px;
  padding:0px;
}
h1{
  text-align: center;
  font-size: 20px;
  line-height: 2em;
  padding: 30px 0 0 0;
}
.wrap{
  width: 600px;
  margin: 0 auto
}
</style>
This CSS centers the slider and resets the basic margins and padding of the entire page.
The .wrap class functions as the slider container, displaying it in the center with the proper width.
HTML Structure: Build the Basic Form of the Slider
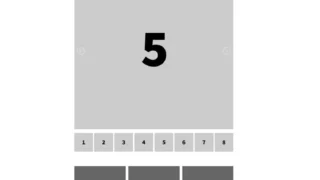
Next, set up the HTML structure of the slider. In the example below, the ul element is used to create an image list, and each li element contains an individual image.
In the horizontal multiple image slider area (class="bxslider"), we prepared slide images (1 to 8.jpg).
<h1>Display Multiple Image Slider Using jquery.bxslider.js</h1>

<div class="wrap">
  <ul class="bxslider">
    <li>
      <img src="1.jpg" />
    </li>
    <li>
      <img src="2.jpg" />
    </li>
    <li>
      <img src="3.jpg" />
    </li>
    <li>
      <img src="4.jpg" />
    </li>
    <li>
      <img src="5.jpg" />
    </li>
    <li>
      <img src="6.jpg" />
    </li>
    <li>
      <img src="7.jpg" />
    </li>
    <li>
      <img src="8.jpg" />
    </li>
  </ul>
</div>
Add Motion with JavaScript
The JavaScript code below controls the slider’s behavior. Load the jquery-3.1.1.min.js and jquery.bxslider.js files.
This script initializes the slider function after the page has fully loaded.
Write $('slider-area').bxSlider({options}).
You can configure options such as number of slides moved, margin, width, infinite loop, speed, and auto-slide.
By customizing various options, you can freely adjust the behavior of the slider.
<script src="jquery-3.1.1.min.js"></script>
<script src="jquery.bxslider.js"></script>
<script>
$(document).ready(function(){
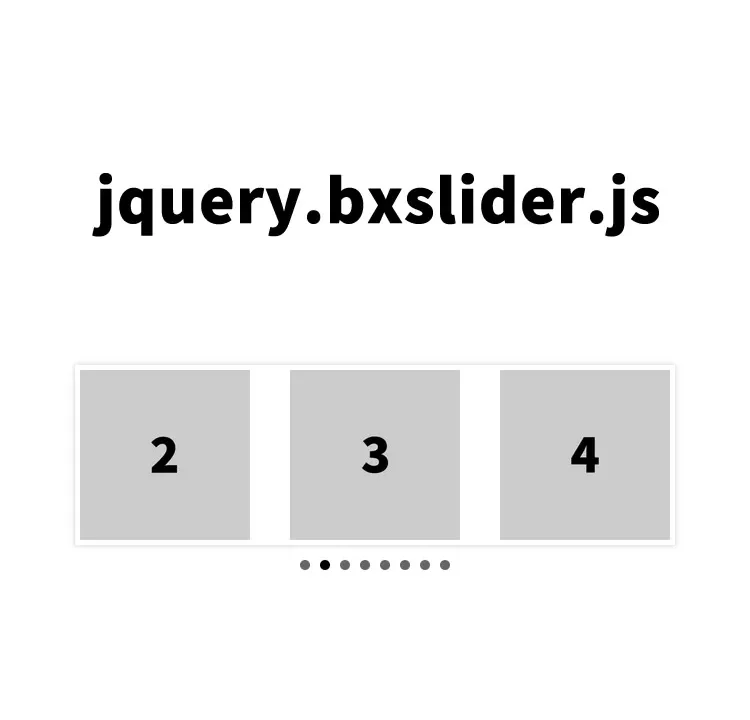
$('.bxslider').bxSlider({
mode: 'horizontal',
moveSlides: 1,
slideMargin: 40,
infiniteLoop: true,
slideWidth: 660,
minSlides: 3,
maxSlides: 3,
speed: 800,
auto: true
});
});
</script>
Demo Page: Display Multiple Image Slider Using the Versatile jquery.bxslider.js
You can access the demo page where these codes are actually used to set up the slider from the link below.
Check the actual behavior to deepen your understanding.
Demo Page: Display Multiple Image Slider Using the Versatile jquery.bxslider.js
Source: bxslider-4
The source code of jquery.bxslider.js can be found at the link below.
If you want to learn about customization or detailed settings, be sure to check it out.
Summary
In this article, I explained in detail how to set up an attractive multiple image slider using jquery.bxslider.js.
By following the three steps of style, HTML structure, and JavaScript settings, you can add eye-catching visual elements to your website or blog.
Please continue to make use of this to create more engaging web content.
※ If reused, please do so at your own responsibility.
Do not reuse the Google Analytics tag inside the demo page’s head tag.