jQuery Dynamic Web Design: How to Overlay the Content Area on the Visual Area While Scrolling
The world of web design and front-end development is constantly evolving. This time, we introduce a method to create a visual area that dynamically changes according to the browser size and enhances user experience. With a simple jQuery technique, you can significantly improve the look and functionality of your site.
Styling the Visual Area and Content Area with CSS
In this section, we will explain in detail the CSS styling of .headArea (visual area) and .contentsArea (content area).
We provide basic styling guidelines and practical tips so you can customize them for your own projects.
<style>
body {
  margin: 0;
  padding: 0;
  font-size: 18px;
  text-align: center;
  width:100%;
  margin:0px;
  padding:0px;
}
.headArea{
  position:fixed;
  width: 100%;
  height: auto;
  top: 0;
  left: 0;
}
.headArea h1{
  text-align: center;
  font-size: 28px;
  line-height: 1.8em;
  color: #ffffff;
  position: absolute;
  z-index: 2;
  top: 28%;
  width: 100%;
}
.headArea img{
  width: 100%;
  position: relative;
}
.contentsArea{
  position: relative;
  background-color: #ffffff;
  height: 1500px;
  font-size: 30px;
  padding-top: 200px;
  font-weight: bold;
}
</style>
HTML Markup to Overlay the Content Area on the Visual Area While Scrolling
In the visual area (class=”headArea”), prepare an image (1.jpg), and under the visual area, place the content area (class=”contentsArea”).
<div class="headArea">
  <img src="1.jpg" width="100%">
  <h1>Get the height of the visual area that varies depending on the browser size,<br>set the height to the position of the content area,<br>and when scrolling, overlay the content area on top of the visual area.</h1>
</div>
<div class="contentsArea">Content Area</div>
Implementing JavaScript for Dynamic Height of the Visual Area and Interactive Behavior
Load the jquery-3.1.1.min.js file.
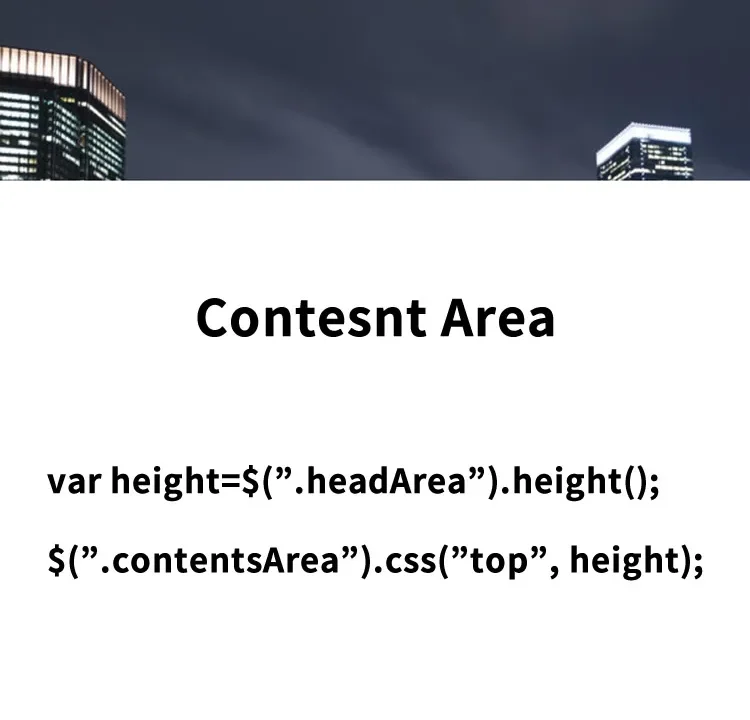
Here, we explain how to use jQuery’s .height() method to obtain the height of the visual area. Since this height changes depending on the browser size, it is essential for dynamic web design. Along with the code snippet, we also cover the background and theory of this process.
You can get the height with $(“visual area”).height() and then set it to the position of the content area using $(“content area”).css(“top”, height). The same process is applied when the browser is resized.
<script src="jquery-3.1.1.min.js"></script>
<script>
function contentsAreaPosi(){
  var height=$(".headArea").height();
  $(".contentsArea").css("top", height);
}

$(function(){
  contentsAreaPosi();

  $(window).on('resize',function(){
    contentsAreaPosi();
  });

});
</script>
Demo Page of Overlaying the Content Area on the Visual Area While Scrolling
You can check the demo page below where these techniques are actually applied.
Demo page of overlaying the content area on the visual area while scrolling
Conclusion
In this article, we explained in detail how to achieve dynamic web design using jQuery. By applying these techniques, you can provide visitors with an unforgettable browsing experience. Please feel free to share your feedback and implementation examples in the comments.
*If you reuse this code, please do so at your own risk.
Do not reuse the Google Analytics tag in the head section of the demo page.