Carousel Display of Multiple Images Sliding Left and Right [jcarousellite.js]
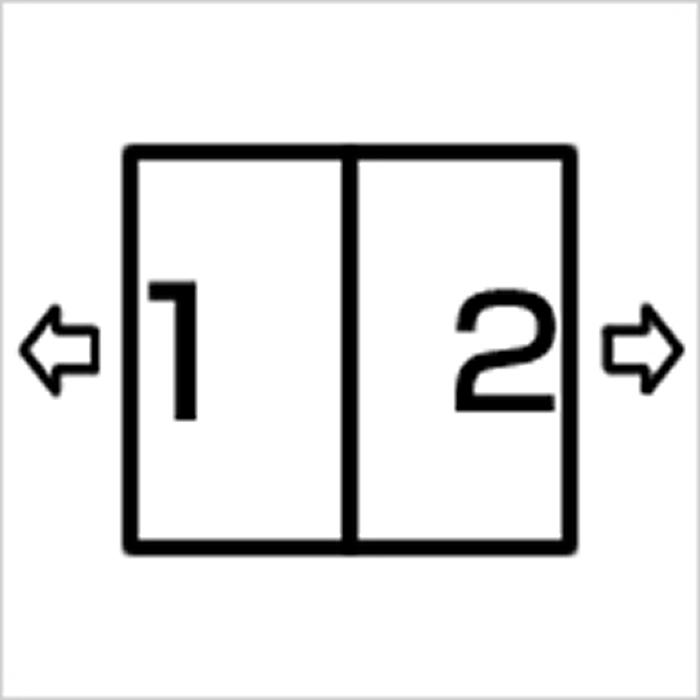
Carousel display is useful when you want to show many images on a website, but space is limited. In this article, we introduce how to create a carousel that slides multiple images left and right using the simple JavaScript plugin, “jcarousellite.js.”
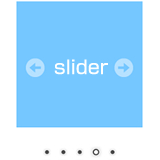
A carousel is a rotating slider that displays images or content. By showing images in sequence, you can use limited space efficiently while adding visual effects. The method introduced here is easy to implement, even for engineers new to web development.
Let’s explore what jcarousellite.js is and how to use it.
What is jcarousellite.js?
jcarousellite.js is a lightweight and simple jQuery plugin. jQuery is one of the JavaScript libraries that simplifies web page operations. With jcarousellite.js, you can create a carousel display with just a few lines of code.
The reason to use jcarousellite.js is its simplicity and lightweight nature compared to other slider plugins. If you don’t need complex settings or advanced functionality, this plugin is an excellent choice.
By using the carousel function, you can slide images one by one, making it useful for galleries, product pages, or slideshows. Now, let’s build a carousel display using jcarousellite.js.
CSS Settings for Carousel Display
First, we need some basic CSS to set up the carousel display. This CSS will handle the layout of the carousel and the design of the “NEXT” and “BACK” buttons. Include this CSS in your HTML file to make the carousel visually appealing.
Example CSS Code
<style type="text/css">
body {
  font-family: Verdana, "Hiragino Kaku Gothic Pro", Osaka, Arial, sans-serif;
  margin: 0;
  padding: 0;
}
h1 {
  font-size: 16px;
  font-weight: normal;
  text-align: center;
  padding: 15px 0;
}
#idWrap {
  width: 650px;
  margin: 0 auto;
}
.clPrev, .clNext {
  border: 2px solid #666;
  padding: 10px;
  margin: 15px 0;
  width: 95px;
  text-align: center;
  cursor: pointer;
  color: #666;
}
.clPrev:hover, .clNext:hover {
  border-color: #CCC;
  color: #CCC;
}
</style>
Description
- #idWrap: Wraps the entire carousel to center it on the page.
- .clPrev and .clNext: Buttons to navigate through the carousel, changing color on hover.
Next, let’s move on to the JavaScript code.
JavaScript for Carousel using jcarousellite.js
To create the carousel display, first load jQuery and jcarousellite.js into your HTML. Below is the code example, where we use jQuery version 1.10.2 and jcarousellite_1.0.1.js.
Example JavaScript Code
<script src="https://ajax.googleapis.com/ajax/libs/jquery/1.10.2/jquery.min.js"></script>
<script src="jcarousellite_1.0.1.js"></script>
<script>
$(document).ready(function() {
  $("#iDemo").jCarouselLite({
    btnPrev: '.clPrev',
    btnNext: '.clNext',
    visible: 2,
    start: 0
  });
});
</script>
Description
- $(“#iDemo”).jCarouselLite(…): Activates the carousel display.
- btnPrev and btnNext: Assigns the classes for the navigation buttons.
- visible: Sets the number of images visible at one time. Adjust as needed.
Now, let’s see the HTML structure.
HTML Example for Carousel
Below is the HTML structure for the carousel. We use a list of images, which will be displayed as a carousel.
Example HTML Code
<div id="idWrap">
  <h1>Image Carousel Display</h1>
  <p>Click "NEXT" or "BACK" to slide through the images.</p>

  <div class="clNext">NEXT >></div>

  <div id="iDemo" class="jCarouselLite">
    <ul>
      <li><img src="i01.jpg" alt="1" width="150" height="150"></li>
      <li><img src="i02.jpg" alt="2" width="150" height="150"></li>
      <li><img src="i03.jpg" alt="3" width="150" height="150"></li>
      <li><img src="i04.jpg" alt="4" width="150" height="150"></li>
    </ul>
  </div>

  <div class="clPrev"><< BACK</div>
</div>
Description
- #idWrap: Wraps the entire carousel.
- .clNext and .clPrev: Buttons for sliding forward and backward.
- #iDemo: Contains the image list for the carousel.
Try it Out
After setting up the code, open the HTML file in a browser to see the carousel in action. Click the buttons to slide the images left and right. Adjust the appearance and functionality as needed.
Demo: jcarousellite.js Carousel
Source: jCarousel Lite
Conclusion
In this article, we introduced how to create a carousel display using jcarousellite.js. A carousel is a great way to show many images in limited space. With lightweight plugins like jcarousellite.js, you can create sliders without compromising site performance.
Feel free to customize the appearance and functionality to suit your web design. We hope this guide helps you in your web development journey.
Note: Use this content at your own risk. Do not reuse the Google Analytics tag from the demo page.