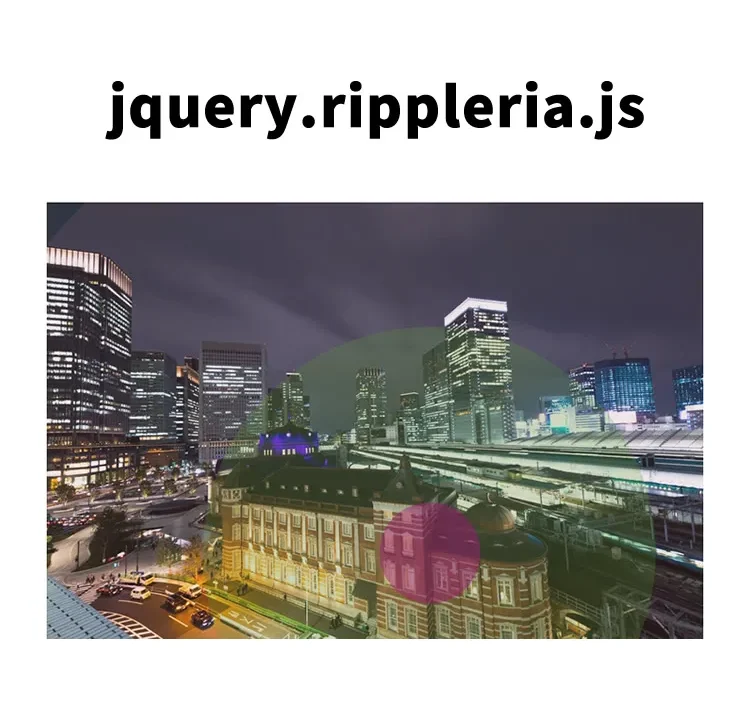
クリックで魅力的な波紋エフェクト!jquery.rippleria.jsの簡単設定方法とカスタマイズ例
ウェブデザインの中で、ユーザーのアクションに反応して視覚的なフィードバックを提供することは、ユーザー体験を向上させる上で非常に重要です。
今回は、jquery.rippleria.jsを用いて、ボタンや画像をクリックした際に美しい波紋エフェクトを表示する方法を詳しく解説します。この技術を用いることで、サイトのインタラクティビティを一層引き立てることができます。
jQuery Rippleriaの導入
jQuery Rippleriaは、要素に波紋エフェクトを追加するためのjQueryプラグインです。このセクションでは、その基本的な導入方法からカスタマイズ方法までを一通り説明していきます。
CSSの記述
jquery.rippleria.min.cssファイルを読み込みます。ボタン(.btn)と画像エリア(aタグ)のCSS記述です。
<link rel="stylesheet" href="jquery.rippleria.min.css">
<style>
body {
  font-size: 14px;
  text-align: center;
  line-height: 2em;
}
h1{
  text-align: center;
  font-size: 20px;
  line-height: 2em;
  padding: 15px 0 30px 0;
}
.btn {
    display: inline-block;
    margin: 0 5px 40px 5px;
    font-size: 20px;
    font-weight: 400;
    line-height: 1.42857143;
    text-align: center;
    white-space: nowrap;
    vertical-align: middle;
    -ms-touch-action: manipulation;
    touch-action: manipulation;
    cursor: pointer;
    -webkit-user-select: none;
    -moz-user-select: none;
    -ms-user-select: none;
    user-select: none;
    background-image: none;
    border: 1px solid transparent;
    border-radius: 4px;
    padding: 30px 90px;
    text-transform: uppercase;
}
a{
  display: inline-block;
}
</style>
HTMLの記述
ボタンまたは画像をクリックすると波紋エフェクトを表示する、ボタンエリア(buttonタグ)と画像エリア(id=”rippleria”)に画像を用意します。buttonタグにdata-rippleriaを追記し、その他波紋をカスタマイズしたい場合は「色:data-rippleria-color」「波紋の間隔:data-rippleria-duration」「イージング:data-rippleria-easing」を設定します。
<h1>ボタンまたは画像をクリックするとおしゃれな波紋が広がるエフェクトを表示します。<br>以下のボタンまたは画像をクリックしてみて下さい。</h1>

<button data-rippleria class="btn btn-primary">ダークボタン</button>
<button data-rippleria class="btn btn-default">ライトボタン</button>
<button data-rippleria
data-rippleria-color="rgba(100,178,53,.35)"
data-rippleria-duration="1000"
data-rippleria-easing="cubic-bezier(0.680, -0.380, 0.385, 1.650)"
class="btn btn-default">カスタマイズボタン</button>

<a id="rippleria" href="#"><img src="1.jpg" alt="image"></a>
JavaScriptの記述
jquery-2.1.4.min.jsとjquery.rippleria.min.jsファイルを読み込みます。画像(#rippleria)クリック後の波紋のエフェクトは$(‘画像エリア’).rippleria({オプション})を記述します。オプションでは「波紋の間隔:duration」「イージング:easing」等が設定できます。必要に応じて変更してみて下さい。
<script src="jquery-2.1.4.min.js"></script>
<script src="jquery.rippleria.min.js"></script>
<script>
    $('#rippleria').rippleria({
        // aniamtion speed
        duration: 750,
        // custom easing effect
        easing: 'ease-in'
    });

    $('#rippleria').click(function(e) {
        e.preventDefault();

        var randInt = function (min, max) {
        var rand = min + Math.random() * (max - min)
        rand = Math.round(rand);
        return rand;
    };

    $(this).rippleria('changeColor',
            'rgba('+randInt(0,200)+','+randInt(0,200)+','+randInt(0,200)+',0.'+randInt(3,5));
    });
</script>
jquery.rippleria.jsを使ってボタンまたは画像をクリックするとおしゃれな波紋が広がるエフェクトを表示するデモページ
実際にこれらのエフェクトを体験できるデモページは以下より確認できます。
jquery.rippleria.jsを使ってボタンまたは画像をクリックするとおしゃれな波紋が広がるエフェクトを表示するデモページ
ソース元:jQuery Rippleria
まとめ
この記事では、jquery.rippleria.jsを用いてクリックイベントに応じた波紋エフェクトを実装する方法を紹介しました。このプラグインを使うことで、ウェブサイトに洗練されたインタラクティブな要素を簡単に追加することができます。各種設定をカスタマイズして、あなたのウェブサイトに最適なスタイルを見つけてください。
※流用される場合は自己責任でお願いします。
デモページheadタグ内のGoogleアナリティクスタグは流用しないで下さい。
PCトラブルは解決しましたか?
もし「会社のPCが全部遅い」「Office 365のエラーが多発する」「ネットワークが不安定」といった、調べても解決しない「会社全体」のお悩みがありましたら、ぜひご相談ください。
「Windows11 高速化」といったお悩み検索で毎月1,200人以上が訪れる、
このサイトの運営者(建設会社IT部長)が、川崎・横浜・東京城南エリアの法人様限定で「無料ITお困りごと診断」を行っています。