Complete Guide: How to Add Geometric Pattern Animations to Your Web Page with particles.js
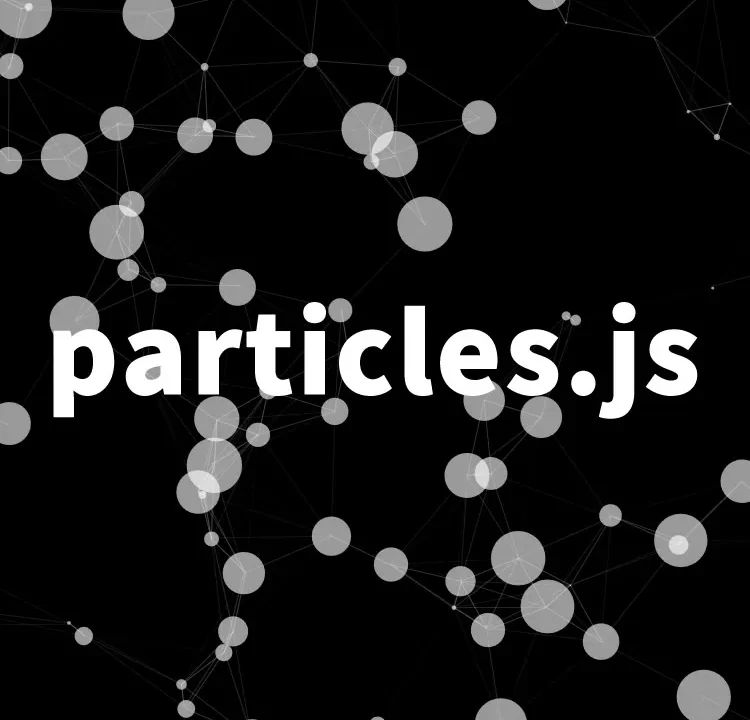
In the world of web development, there are many tools that can attract users’ attention and add movement to a site. Among them, one particularly captivating tool is “particles.js.” This JavaScript library allows you to easily add beautiful geometric pattern animations across your entire site.
This article provides a step-by-step explanation to help even beginners implement this engaging effect.
- Basics of particles.js
- CSS Description for Displaying Geometric Pattern Animations with particles.js Across the Entire Page
- HTML Structure
- Adding Animation with JavaScript
- Demo Page: Displaying Geometric Pattern Animations Across the Entire Page with particles.js
- Advanced Usage of particles.js
- Source: particles.js – A lightweight JavaScript library for creating particles
- Conclusion
Basics of particles.js
particles.js is a lightweight yet powerful JavaScript library that enables the implementation of dynamic particle systems on web pages. Particles refer to small dots or icons that move across the screen, creating complex movements and patterns when combined.
CSS Description for Displaying Geometric Pattern Animations with particles.js Across the Entire Page
The basic CSS to display the animation is as follows. This style sets up the area (#particles-js) to show the particle animation across the entire page. Customize as needed.
<style>
* {
  padding: 0;
  margin: 0;
}
body {
  font-size: 18px;
  text-align: center;
}
h1{
  width: 100%;
  text-align: center;
  font-size: 24px;
  padding: 20px 0 40px 0;
  line-height: 1.8em;
  position: absolute;
  color: #ffffff;
}
#particles-js{
  width: 100%;
  height: 100%;
  background-color: #000;
  background-image: url('');
  background-size: cover;
  background-position: 50% 50%;
  background-repeat: no-repeat;
}
</style>
HTML Structure
Next, set up the HTML structure to display the animation.
Prepare an area to show the geometric pattern animation across the entire page (id=”particles-js”). Add the following code snippet to your HTML file.
<h1>Displaying geometric pattern animation across the entire page using particles.js.</h1>

<div id="particles-js"></div>
Adding Animation with JavaScript
Use particles.js to configure the specific animation. Add the following JavaScript code to your HTML file and set the animation details.
Load the particles.js file. By using particlesJS(‘id of animation display area’, {animation options}), the animation will appear based on the values set in the options. Refer to the GitHub particles.js “Options” for more details.
<script src="particles.js"></script>
<script>
particlesJS('particles-js',

  {
    "particles": {
      "number": {
        "value": 80,
        "density": {
          "enable": true,
          "value_area": 800
        }
      },
      "color": {
        "value": "#ffffff"
      },
      "opacity": {
        "value": 0.6,
        "random": false,
        "anim": {
          "enable": false,
          "speed": 1,
          "opacity_min": 0.1,
          "sync": false
        }
      },
      "size": {
        "value": 30,
        "random": true,
        "anim": {
          "enable": false,
          "speed": 40,
          "size_min": 0.1,
          "sync": false
        }
      },
      "line_linked": {
        "enable": true,
        "distance": 150,
        "color": "#ffffff",
        "opacity": 0.4,
        "width": 1
      },
      "move": {
        "enable": true,
        "speed": 8,
        "direction": "none",
        "random": false,
        "straight": false,
        "out_mode": "out",
        "attract": {
          "enable": false,
          "rotateX": 300,
          "rotateY": 1200
        }
      }
    },
    "interactivity": {
      "detect_on": "canvas",
      "events": {
        "onhover": {
          "enable": true,
          "mode": "repulse"
        },
        "onclick": {
          "enable": true,
          "mode": "push"
        },
        "resize": true
      },
      "modes": {
        "grab": {
          "distance": 400,
          "line_linked": {
            "opacity": 1
          }
        },
        "bubble": {
          "distance": 400,
          "size": 40,
          "duration": 2,
          "opacity": 8,
          "speed": 3
        },
        "repulse": {
          "distance": 200
        },
        "push": {
          "particles_nb": 4
        },
        "remove": {
          "particles_nb": 2
        }
      }
    }
  }

);
</script>
Demo Page: Displaying Geometric Pattern Animations Across the Entire Page with particles.js
To see how this code works in practice, set up a demo page using particles.js.
This demo page is the perfect place to experience the beauty and functionality of particles.js firsthand.
Demo Page: Displaying Geometric Pattern Animations Across the Entire Page with particles.js
Advanced Usage of particles.js
particles.js is highly versatile and supports various settings. For example, you can freely customize the number, color, and speed of particles, as well as their behavior when hovered over with the mouse, to create unique visual effects.
Refer to the official documentation and community examples to experiment with different effects.
Source: particles.js – A lightweight JavaScript library for creating particles
If you’re looking for more information on particles.js, visit the official site or GitHub page via the link below.
particles.js – A lightweight JavaScript library for creating particles
By leveraging these resources, you can unlock the full potential of particles.js and create a website that captivates visitors.
Conclusion
In this article, we thoroughly explained how to use particles.js as a tool for adding geometric pattern animations to your entire webpage. From beginners to experienced developers, anyone can easily implement beautiful particle effects on their website.
Take this opportunity to create a memorable visual experience for your visitors using particles.js.
* Please use at your own risk.
Do not reuse the