How to Use Turntable.js: Switching Multiple Images with Scroll and Cursor Movement

This time, we’ll introduce a method to smoothly switch between images using a simple JavaScript library called “turntable.js.”
With this library, you can display images as if they were animated.
In this article, we’ll explain the process step by step with specific code examples so even beginners can follow along.
Read until the end and use it to enhance your project!
The Appeal of Turntable.js
Turntable.js is a library that allows you to switch images according to mouse scroll or cursor movement.
It has several attractive features:
- Interactive Expression: The image changes according to user actions, providing a visually engaging experience.
- Easy Implementation: If you have basic knowledge of HTML, CSS, and JavaScript, you can implement it right away.
- Flexible Configuration: It supports x-axis, y-axis, and scroll interactions, allowing for a variety of effects.
CSS Setup
First, let’s set up the CSS for the image display area. Below is a basic CSS code example:
<style>
body{
  padding: 0;
  margin: 0;
  text-align: center;
  font-size: 16px;
}
h1{
  font-size:20px;
  line-height:1.6em;
  text-align:center;
  padding: 15px 0 25px 0;
}
.turntable {
  margin: 0px auto;
  width:  500px;
}
.turntable ul {
  padding: 0px;
  margin: 0px;
}
.turntable ul li {
  list-style-type: none;
  display: none;
}
.turntable ul li img {
  width: 100%;
}
.turntable ul li.active {
  display: block;
}
</style>
This CSS defines styles for displaying images in a list format.
Only the li element with the active class is displayed, while others are hidden.
HTML Setup
Next, let’s set up the HTML section to place the images. Refer to the following code.
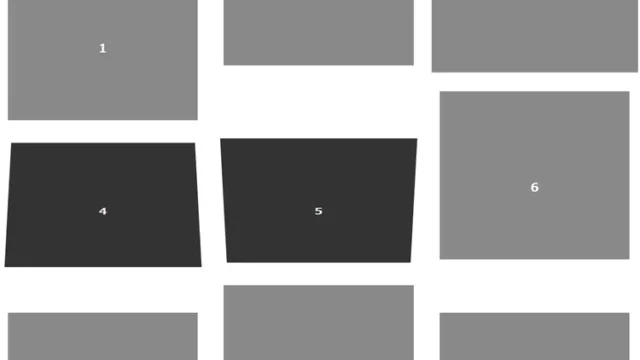
Prepare seven images (1–7.jpg) inside the list items (li) within the switching area (#myTurntable).
<h1>Switch multiple images using scroll or XY-axis cursor movement with turntable.js.<br>Move your mouse cursor left and right over the image below.</h1>

<div id="myTurntable" class="turntable">
  <ul>
    <li data-img-src="1.jpg"></li>
    <li data-img-src="2.jpg"></li>
    <li data-img-src="3.jpg"></li>
    <li data-img-src="4.jpg"></li>
    <li data-img-src="5.jpg"></li>
    <li data-img-src="6.jpg"></li>
    <li data-img-src="7.jpg"></li>
  </ul>
</div>
Here, we place a list of images inside a div element with the ID #myTurntable.
Specify the image file path in the data-img-src attribute.
JavaScript Setup
Finally, let’s activate Turntable.js using JavaScript. Copy and use the following code.
Load jquery.min.js (v2.2.4) and turntable.js.
Write $('target area').turntable({options}).
For the axis option, specify whether switching occurs by ‘x’, ‘y’, or ‘scroll’.
<script type="text/javascript" src="jquery.min.js"></script>
<script src="turntable.js"></script>
<script type="text/javascript">
$('#myTurntable').turntable({
  axis: 'x',
  reverse: true
});
</script>
Here, we load jQuery and Turntable.js, then call the turntable method.
The axis option specifies the switching axis, and the reverse option sets the reverse direction.
Demo Page: Switching Multiple Images Using Scroll or XY-Axis Cursor Movement with turntable.js
If you want to see how it works, check out the demo page below.
You’ll immediately understand the appeal of interactive image switching.
Demo Page: Switching Multiple Images Using Scroll or XY-Axis Cursor Movement with turntable.js
Summary
In this article, we introduced how to create interactive image switching using Turntable.js.
By using this library, you can easily add dynamic and engaging content to your website.
Try implementing it in your own project and offer users a fresh experience!
※ Please use this at your own discretion.
Do not reuse the Google Analytics tag inside the demo page’s <head> tag.