Customize WordPress Freely! How to Use the “Advanced Custom Fields” Plugin
Hello to those interested in customizing WordPress. Today, I’ll introduce a great plugin that allows you to personalize and enhance your WordPress site—”Advanced Custom Fields (ACF)”. It’s easy even for beginners, so let’s learn together!
This guide clearly explains how to use the “Advanced Custom Fields” plugin. Even beginners can easily add custom fields (such as text input and image upload areas), so if you’re interested, give it a try.
Why “Advanced Custom Fields”?
When managing a blog or website with WordPress, the default post and page features may not be enough. That’s where “Advanced Custom Fields” comes in. With this plugin, you can easily add various custom fields such as text boxes, dropdowns, and image uploaders. It helps make your site more user-friendly and visually appealing.
Installing the Advanced Custom Fields Plugin
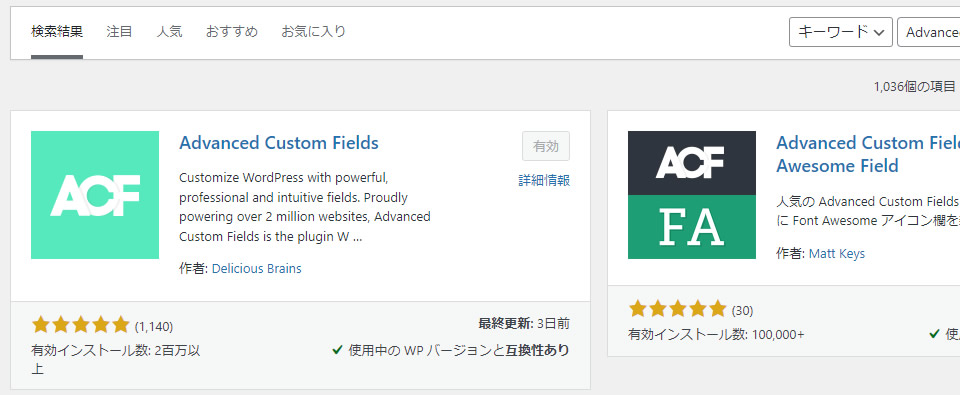
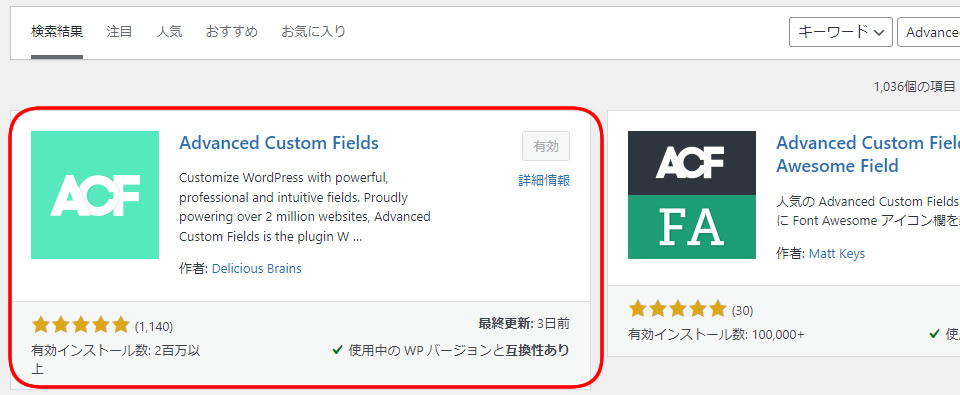
First, install the plugin. Access the WordPress admin panel, go to “Plugins” → “Add New”, then type “Advanced Custom Fields” into the search box. Click “Install Now” on the displayed plugin, then click “Activate”.
Setting Up Custom Fields
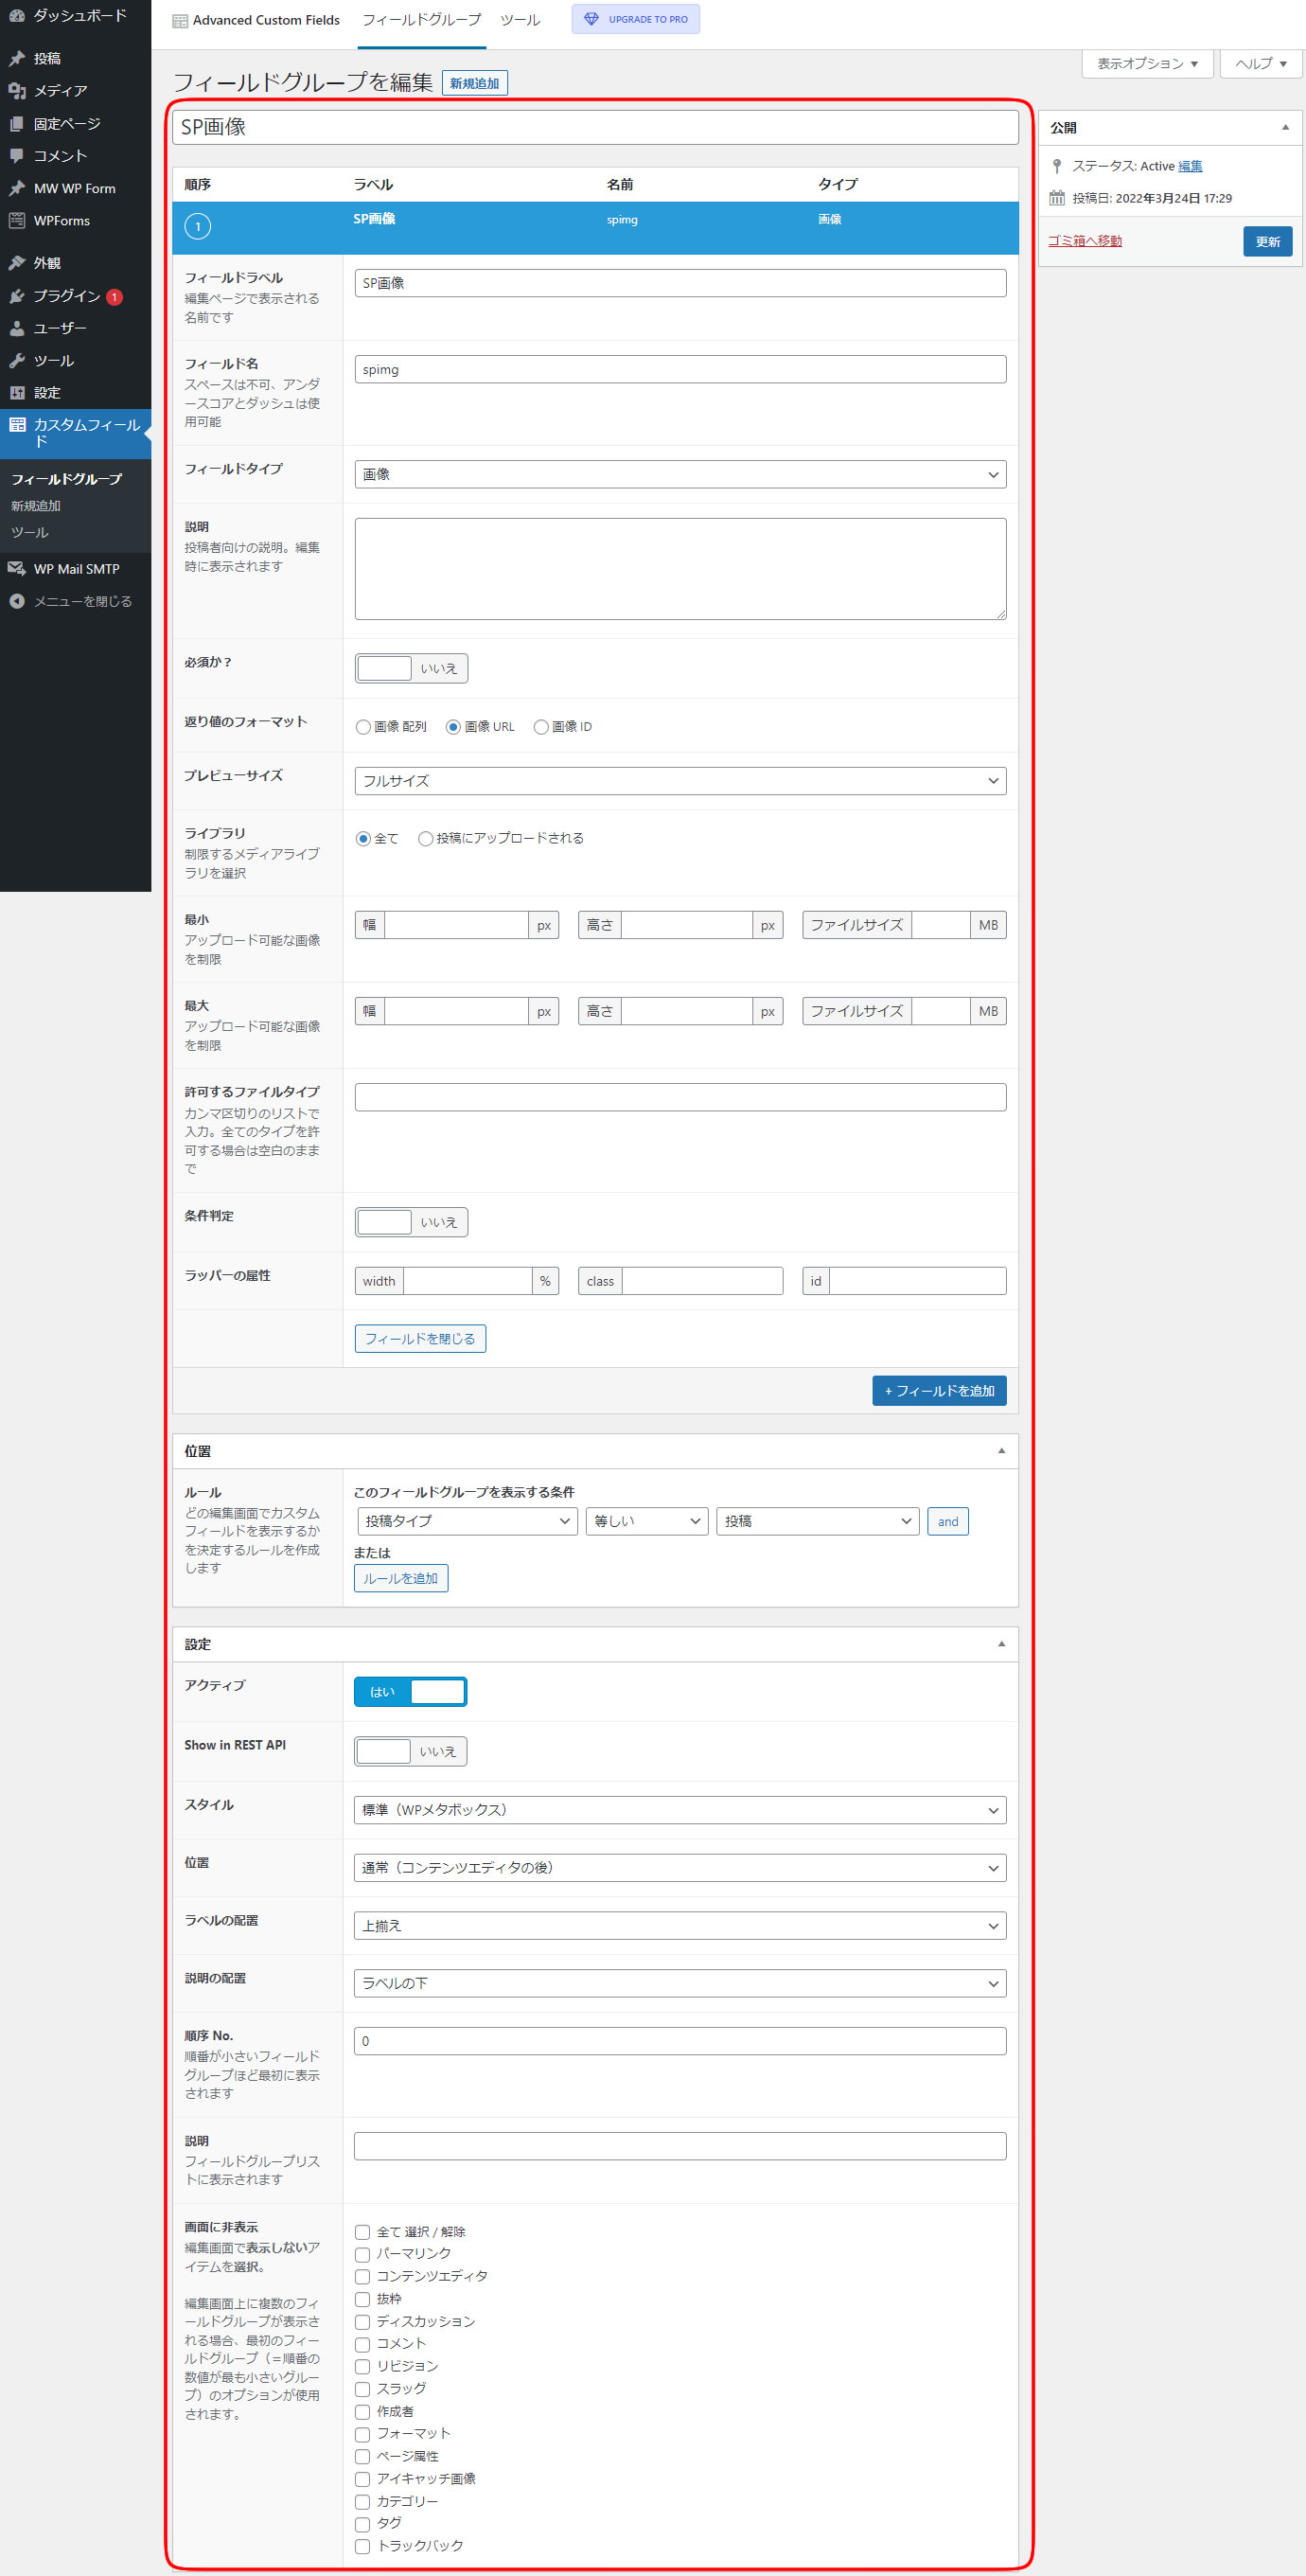
Once the installation is complete, proceed to set up the custom fields. From the left menu, go to “Custom Fields” → “Add New”, and configure the fields you want to add. You can set various field types such as text input and image upload areas. Also, under “Location Rules”, you can define where the custom fields appear (e.g., post editor, pages, etc.).
Adding Custom Fields in the Post Editor
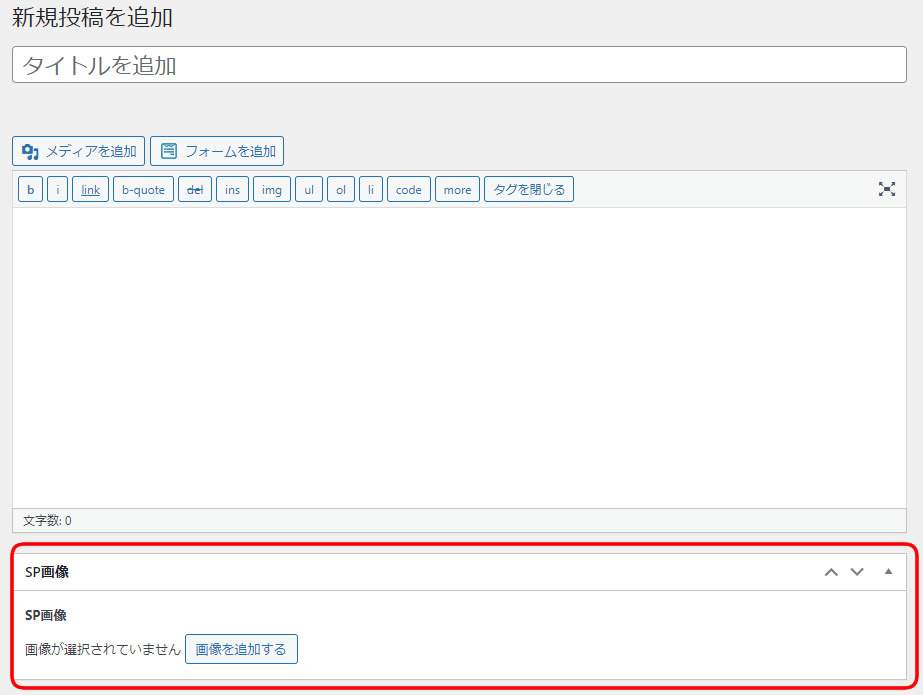
Once configured, custom fields will appear in the post editor. For example, if you add an image upload area, a new section will appear in the editor, allowing you to upload images.
Below is an image of a custom field (image upload area) added using Advanced Custom Fields, shown in the red box area.
Displaying Custom Fields
To display content registered in custom fields, use a specific code. For example, if you name a field “spimg”, inserting the following code in your template file will output the content uploaded to that field.
Use the field name set in “Custom Fields” and display the value with the_field('field_name'). In the example below, “spimg” is the field name.
<?php the_field('spimg'); ?>
Source: Advanced Custom Fields Plugin
Here is the official source of the plugin:
Plugin Info and Summary
The Advanced Custom Fields plugin is a powerful tool that greatly expands WordPress functionality. You can find more details and download it from the WordPress Plugin Directory.
With this plugin, even beginners can easily customize their sites. If you run a blog or website, definitely give it a try. This tool will make your site even more attractive.
*Please use at your own risk if reusing this content.