The Complete Guide to Easily Using Google Font “Noto Sans Japanese” with CSS
In web development, choosing and implementing fonts is an essential factor that greatly influences the appearance and usability of your site. In this article, we will introduce two methods for using the Google Font Noto Sans Japanese: loading it via a link tag in the head and loading it via @import in the style section. This detailed explanation is aimed especially at web development beginners and those looking to achieve better website designs, detailing how to implement one of the Google Fonts, “Noto Sans Japanese”. This font is perfect for Japanese websites and comes in a variety of weights.
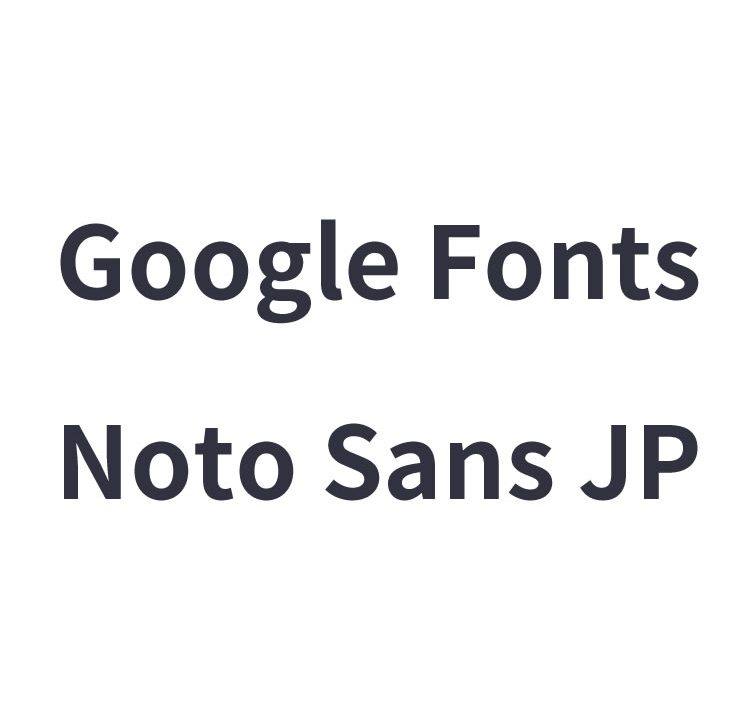
What is Google Font “Noto Sans Japanese”?
Google Fonts is a service that provides a wide variety of web fonts for free. “Noto Sans Japanese” is one of them, characterized by its clean and highly legible design. On the official website, you can freely choose the font’s styles and weights to find the perfect match for your website.
Noto Sans Japanese
Method 1: Loading via a link tag in the head
The most common method is to insert a specific link into the HTML head tag. This allows the font to load as soon as the page is loaded. Specifically, add the following code within the head tag.
<link rel="preconnect" href="https://fonts.googleapis.com">
<link rel="preconnect" href="https://fonts.gstatic.com" crossorigin>
<link href="https://fonts.googleapis.com/css2?family=Noto+Sans+JP:wght@100;300;400;500;700;900&display=swap" rel="stylesheet">
Next, specify the font-family in your CSS. Add the following in the style tag or CSS file. In the example below, it is applied to the entire body tag, but feel free to adjust as necessary.
body{
  font-family: 'Noto Sans JP', sans-serif;
  padding: 0;
  margin: 0;
  font-size: 30px;
  text-align: center;
}
Demo Page: Displaying Google Font Noto Sans Japanese by loading it via a link tag in the head
Demo: Displaying Google Font Noto Sans Japanese by loading it via a link tag in the head
Method 2: Loading via @import in style
Another method is to use the @import rule within your CSS. This is particularly useful when you want to manage everything in one file without using multiple stylesheets. Add the following code at the beginning of your CSS file.
@import url('https://fonts.googleapis.com/css2?family=Noto+Sans+JP:wght@100;300;400;500;700;900&display=swap');

body{
  font-family: 'Noto Sans JP', sans-serif;
  padding: 0;
  margin: 0;
  font-size: 30px;
  text-align: center;
}
Demo Page: Displaying Google Font Noto Sans Japanese by loading it via @import in style
Demo: Displaying Google Font Noto Sans Japanese by loading it via @import in style
Which Method Should You Choose?
The choice between using a link tag or @import depends on the needs of your project. The link tag generally has less impact on page load speed and is the recommended method, while @import is suitable when you want to keep your file structure simple by managing everything within the CSS file.
Summary
Implementing “Noto Sans Japanese” can greatly change the look of your website. Choose either the link tag or @import method to find the style that best suits your site. Keep in mind that font implementation can affect your site’s load time, so performance should also be considered.
The world of web development is deep and ever-evolving with new technologies and techniques. We hope this article will be a helpful part of your web development journey.
※ Please do not reuse the Google Analytics tag within the demo page tags.