Complete Guide to Implementing a Custom Scrollbar with jQuery [jquery.mCustomScrollbar.js]
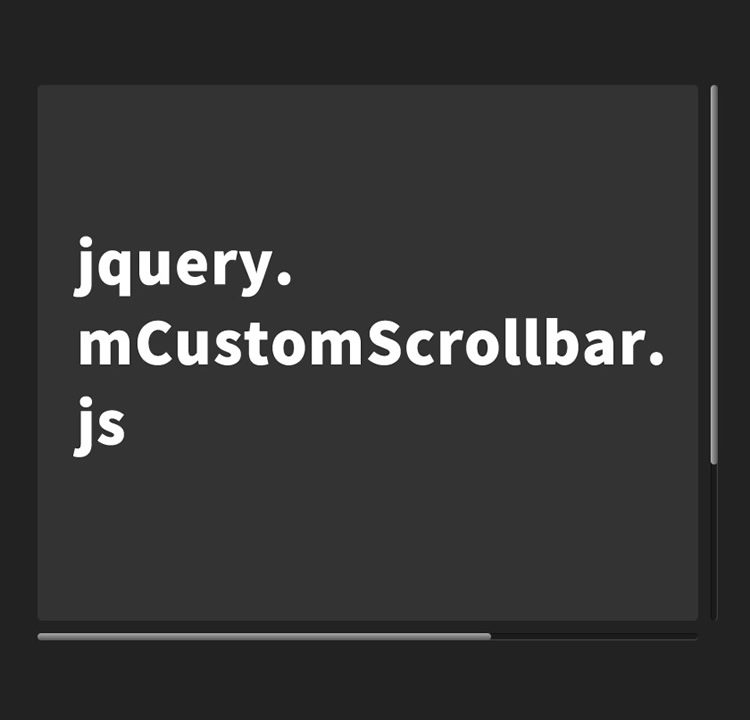
In the world of web design, there are many creative ways to enhance user experience. One such method is implementing a custom scrollbar.
In this article, we will explain how to create an original scrollbar using the jQuery plugin jquery.mCustomScrollbar.js in a way that even beginners can easily understand.
Styling: CSS Setup
First, let’s set up the CSS required for the custom scrollbar. You’ll need to include two files: style.css and jquery.mCustomScrollbar.css.
Use style.css to adjust the appearance of the entire page and the scrollable area. Feel free to modify it according to your design.
      <link rel="stylesheet" href="style.css">
      <link rel="stylesheet" href="jquery.mCustomScrollbar.css">
      <style>
        h1{
          text-align: center;
          font-size: 18px;
          padding: 20px 0;
        }
      </style>
Structure: HTML Markup
Next, write the HTML for the areas where you want to apply the custom scrollbar.
In this example, we’ve prepared two areas with the IDs content-1 and content-2.
This scrollbar supports both horizontal and vertical scrolling.
You can freely customize this part as needed.
      <h1>Display Custom Scrollbars</h1>

      <div id="content-1" class="content nested">
        <h2>Heading Title 1</h2>
        <hr />
        <p>Text text text...</p>
        <p>Text text text...</p>

        <div id="content-2" class="content nested">
          <h2>Heading Title 2</h2>
          <hr />
          <p>Text text text...</p>
          <p>Text text text...</p>
          <p>Text text text...</p>
          <p>Text text text...</p>
          <hr />
        </div>

        <p>Text text text...</p>
        <p>Text text text...</p>
        <hr />
      </div>
Functionality: JavaScript Implementation
This is the most important part.
After loading jQuery (jquery-1.11.0.min.js) and the jquery.mCustomScrollbar.js plugin,
apply the .mCustomScrollbar method to the desired area.
Use the format: $("custom-scrollbar-area").mCustomScrollbar({options});.
This method allows you to configure many options such as scroll direction, position, appearance, and more.
Refer to the plugin’s official documentation for detailed option settings.
  <script src="jquery-1.11.0.min.js"></script>
  <script src="jquery.mCustomScrollbar.js"></script>
  <script>
    (function($){
      $(window).on("load",function(){

        $("#content-1,#content-2").mCustomScrollbar({
          axis:"yx",
          theme:"3d",
          scrollInertia:550,
          scrollbarPosition:"outside"
        });

      });
    })(jQuery);
  </script>
Demo Page: Displaying Custom Scrollbars with jquery.mCustomScrollbar.js
To deepen your understanding, we recommend viewing a live demo.
You can check a sample page with the custom scrollbar implemented via the link below.
Demo Page Using jquery.mCustomScrollbar.js to Display Custom Scrollbars
Source: jQuery Custom Content Scroller
For more details on the plugin jQuery custom content scroller used in this article, please visit the following link:
jQuery custom content scroller
Conclusion
In this article, we introduced how to add custom scrollbars to a web page.
This technique not only enhances the appearance but also improves user interaction.
It’s especially useful for pages with a large amount of content or a specific design theme.
Be sure to try it out in your own project!
* Use at your own risk if reusing this code.
Do not reuse the Google Analytics tag in the <head> of the demo page.
