select the selected content and move it to another area (left and right) using pickList.js
Functions that allow users to select items from a list and move them to another area are useful in many scenarios on websites. For example, selecting users in an admin panel or multiple selections in a form.
In this article, we’ll explain how to use pickList.js to move selected items from a select element to another area. We’ll also show how to retrieve the moved selected items, so be sure to read through!
- CSS description for moving selected items from select to another area (left and right)
- HTML description for moving selected items from select to another area (left and right)
- JavaScript description to move selected items from select using pickList.js and retrieve items moved to the right
- Demo page for moving selected items using pickList.js and retrieving the moved selection
- Source: pickList
- Summary
CSS description for moving selected items from select to another area (left and right)
* Load the following files: bootstrap.min.css, bootstrap-theme.min.css, and pickList.css. You can use your own CSS without Bootstrap if preferred. Modify as needed.
      <link href="https://maxcdn.bootstrapcdn.com/bootstrap/3.3.6/css/bootstrap.min.css"  rel="stylesheet">
      <link href="https://maxcdn.bootstrapcdn.com/bootstrap/3.3.6/css/bootstrap-theme.min.css"  rel="stylesheet">
      <link href="pickList.css"  rel="stylesheet">
HTML description for moving selected items from select to another area (left and right)
* The select options will be displayed inside the element with id=”pickList”. Clicking the button with id=”getSelected” retrieves the selected values.
      <div class="container">
         <div class="panel panel-default">
            <div class="panel-heading">
               <h1 class="panel-title">Move the selected item from the select to another area (left/right). Select one item and click “Move to Right →”.</h1>
            </div>
            <div class="panel-body">

               <div id="pickList"></div>

               <br><br>
               <button class="btn btn-primary" id="getSelected">Get selected items as an array (output in console)</button>
            </div>
         </div>
      </div>
JavaScript description to move selected items from select using pickList.js and retrieve items moved to the right
* Load jquery.min.js, bootstrap.min.js, and pickList.js. Prepare the select options in an array for `val`. Use $(output area).pickList(prepared array) to set select options. Use pick.getValues() to retrieve selected items.
<script src="https://ajax.googleapis.com/ajax/libs/jquery/1.11.3/jquery.min.js"></script>
<script src="https://maxcdn.bootstrapcdn.com/bootstrap/3.3.6/js/bootstrap.min.js"></script>
<script src="pickList.js"></script>
<script>
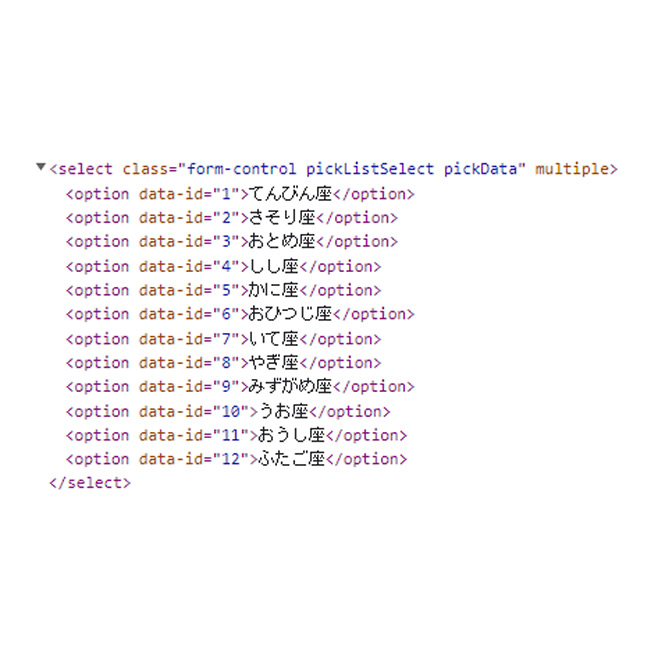
var val = {
01: {id: 01, text: 'Libra'},
02: {id: 02, text: 'Scorpio'},
03: {id: 03, text: 'Virgo'},
04: {id: 04, text: 'Leo'},
05: {id: 05, text: 'Cancer'},
06: {id: 06, text: 'Aries'},
07: {id: 07, text: 'Sagittarius'},
08: {id: 08, text: 'Capricorn'},
09: {id: 09, text: 'Aquarius'},
10: {id: 10, text: 'Pisces'},
11: {id: 11, text: 'Taurus'},
12: {id: 12, text: 'Gemini'}
};
var pick = $("#pickList").pickList({data: val});
$("#getSelected").click(function () {
console.log(pick.getValues());
});
</script>
Demo page for moving selected items using pickList.js and retrieving the moved selection
Demo page for moving selected items using pickList.js and retrieving the moved selection
Source: pickList
The source can be found below.
pickList
Summary
In this article, we introduced how to use pickList.js to move selected items from a select element to another area. Specifically, we covered the following steps:
- Loading the necessary CSS files
- Writing the HTML to display the select element
- Implementing JavaScript with pickList.js
- Retrieving the items moved to the right
Using this method, you can easily create a user-friendly list selection interface. Give it a try and feel free to customize it!
* If you reuse this example, please do so at your own responsibility.
Do not reuse the Google Analytics tag found in the head tag of the demo page.