Splide.js Smart Slider Implementation: A Complete Guide for Beginners to Advanced Users
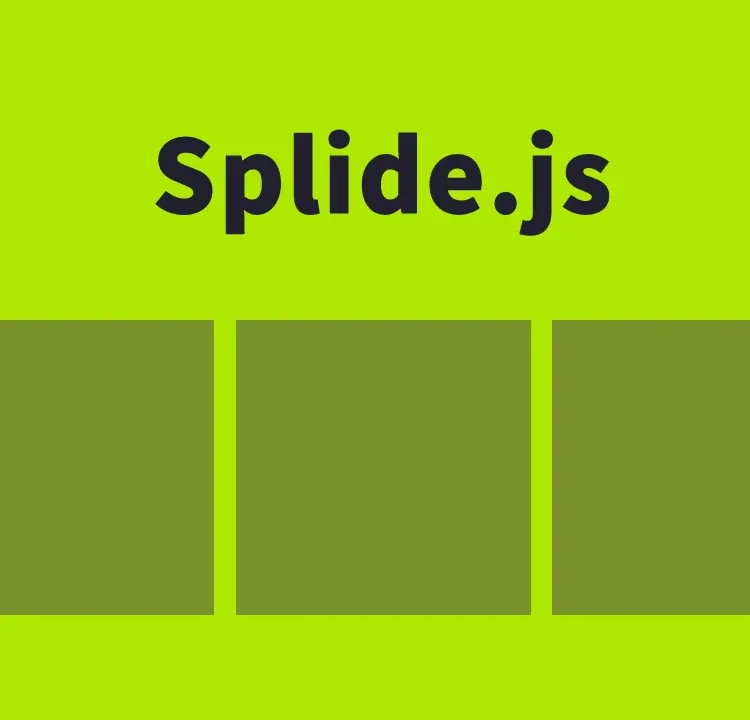
This time, we will clearly explain the charm and usage of Splide.js, a hot topic in the world of web design. Splide.js is a user-friendly JavaScript library that allows you to easily implement sliders that support swipe and tap actions. By following the steps introduced here, you can transform your website into something even more attractive.
Basic CSS Setup for Splide.js
First, let’s start with the CSS settings that form the foundation for using Splide.js. Add the following code to the appropriate place in your website.
- Loading the splide.min.css file: This stylesheet styles the appearance of Splide.js.
- Adding custom styles: Adjust the base styles to match your website’s design.
<link rel="stylesheet" href="css/splide.min.css">
<style>
body {
  font-size: 14px;
  text-align: center;
  line-height: 2em;
}
h1{
  text-align: center;
  font-size: 20px;
  line-height: 2em;
  padding: 15px 0 30px 0;
}
</style>
Building the Slider with HTML
Next, let’s create the slider structure using HTML. In the following code example, three images (1.jpg–3.jpg) are placed inside the slide area (class=”splide”) to be displayed as a slider. Of course, you can freely modify this according to your needs.
<h1>Display a slider with swipe and tap support using Splide.js</h1>

<section class="splide" aria-labelledby="carousel-heading">
  <div class="splide__track">
        <ul class="splide__list">
            <li class="splide__slide"><img src="1.jpg"></li>
            <li class="splide__slide"><img src="2.jpg"></li>
            <li class="splide__slide"><img src="3.jpg"></li>
        </ul>
  </div>
</section>
Setting Up Behavior with JavaScript
The biggest attraction of Splide.js lies in its flexible customization. By adding the following JavaScript code, the slider will start functioning.
- Loading the splide.min.js file: This provides the core functionality of Splide.js.
- Slider initialization and settings: After the page loads, initialize Splide.js and apply the necessary settings. Inside the page load process “document.addEventListener(‘DOMContentLoaded’~”, write Splide(‘tag element of the slide area’).
<script src="js/splide.min.js"></script>
<script>
  document.addEventListener( 'DOMContentLoaded', function() {
    var splide = new Splide( '.splide' );
    splide.mount();
  } );
</script>
Demo Page: Displaying a Slider with Swipe and Tap Support Using Splide.js
See how a Splide.js slider actually works in the demo page below. By watching it in real time, you’ll get a clearer picture of its operation.
Demo page displaying a slider with swipe and tap support using Splide.js
Source: Splide – A Lightweight, High-Performance Slider with Accessibility in Mind
Splide – A Lightweight, High-Performance Slider with Accessibility in Mind
Summary
With the above steps, the basic setup of Splide.js is complete. However, the true value of this library lies in its versatility. For example, you can customize autoplay, infinite looping, support for images of different sizes, thumbnail synchronization, and more. Create a unique slider tailored to your website and capture your visitors’ attention.
*If you reuse the code, please do so at your own risk.
Do not reuse the Google Analytics tag inside the head tag of the demo page.